
User Onboarding for B2B SaaS, A Practical Activation-First Framework
Learn user onboarding as an activation system: what to build, when to trigger it, and how to measure time-to-value for B2B SaaS.
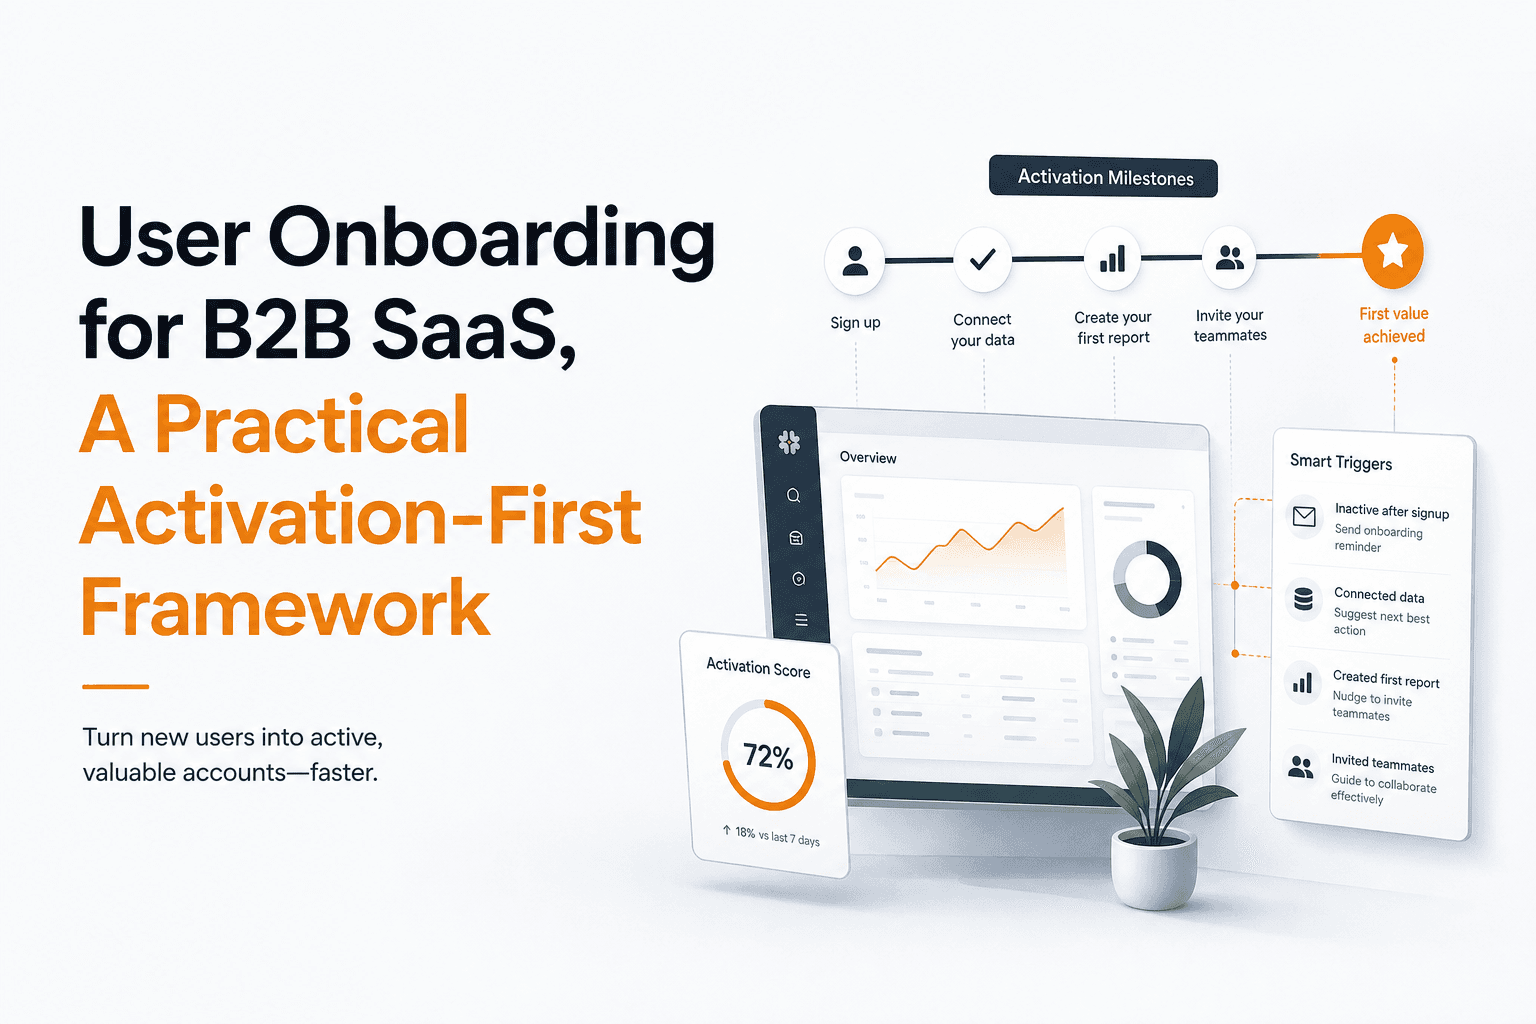
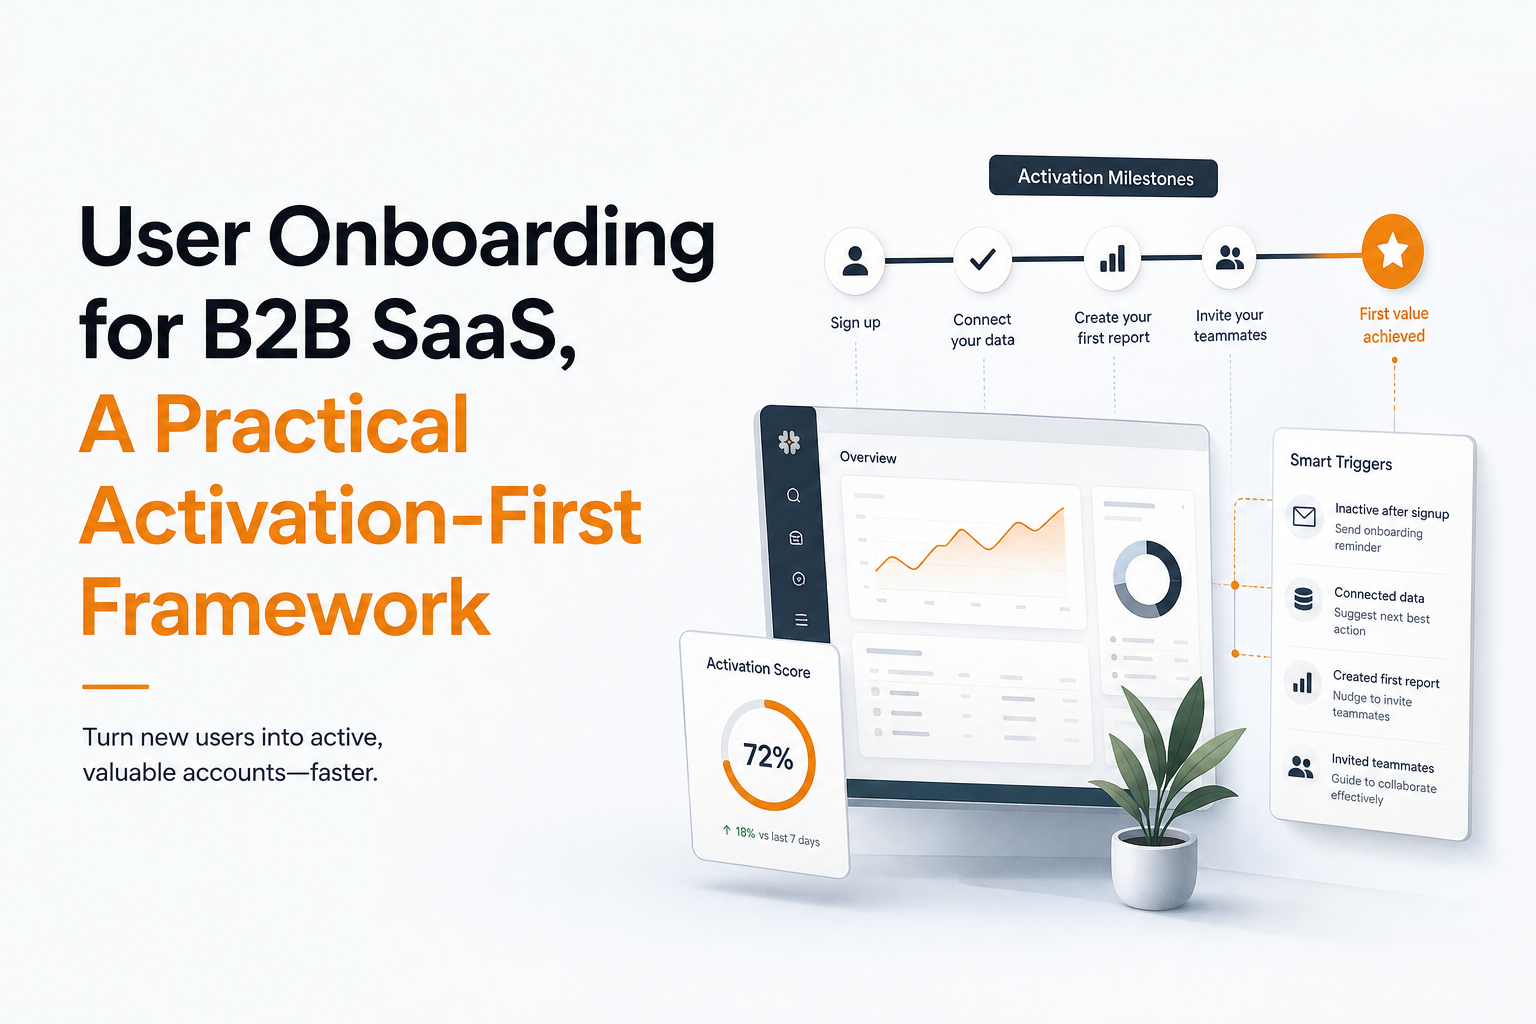
User onboarding in B2B SaaS is not a one-time product tour, it is the activation system that reliably moves new accounts from signup to their first value moment with the least friction possible.
- Design user onboarding around a measurable first value moment, then build flows that get users to it in 3 to 5 steps.
- Use the right UI pattern for the job: checklists for progress, tooltips for context, modals for decisions, and tours only for guided sequences.
- Measure onboarding by activation rate and time-to-value, not just completion rate, and fix drop-offs at the step and cohort level.
What user onboarding really means in B2B SaaS
Why tours fail when onboarding is treated as a one-off
Most teams ship a tour, track “completed tour,” and call it done. The problem is that tour completion is rarely the same as activation. In B2B SaaS, value often requires context (role, use case), setup (integrations, permissions), and a sequence of actions (import, invite, configure, run). If user onboarding does not help users cross those hurdles, you get the classic symptoms: high signup volume, low activation, and a support queue full of “how do I…” tickets.
A practical definition: onboarding equals time-to-value reduction
A useful definition we use is: user onboarding is the set of in-product and out-of-product interventions that reduce time-to-value for a specific persona and use case. That includes UI guidance, but also the logic behind it: who sees what, when they see it, and what happens if they ignore it.
The outcomes to optimize (and what they look like)
- Activation rate: the percent of new accounts that reach your “Aha” moment within a defined window (often 7 or 14 days).
- Time-to-value (TTV): median time from signup to first value moment.
- Early retention: percent of activated users who return and repeat the core value action in week 2 or week 4.
If you want a more detailed sequence view, pair this article with a saas customer onboarding process that maps touchpoints across the first 30 days.
The activation-first onboarding framework you can build in no-code
Step 1: Define the first value moment (make it observable)
Start by writing one sentence: “A new account has experienced value when ___.” Then make it trackable as an event. Examples:
- Analytics product: “User created a dashboard and viewed it with real data.”
- CRM: “Account imported contacts and sent the first sequence.”
- Collaboration tool: “Workspace invited 2 teammates and completed the first shared task.”
In our experience working with founder-led B2B SaaS teams, the fastest way to derail user onboarding is choosing an “Aha” that is really a proxy (like “visited 3 pages”) instead of a value event tied to the product’s promise.
Step 2: Reverse-map the 3 to 5 critical actions
Work backward from the value event and list the smallest set of actions that must happen first. Keep it to 3 to 5; if you need 12 steps, you are probably mixing multiple use cases or personas.
Template:
- Orientation: choose role/use case (or infer it).
- Setup: connect data, add integration, configure workspace.
- First run: execute the core workflow once.
- Reinforcement: invite teammate, save template, schedule next run.
Step 3: Convert actions into milestones and decision points
Each action becomes either a milestone (user did it) or a decision point (user must choose a path). This is where no-code flow builders shine: you can branch based on role, plan, or behavior without waiting for an engineering sprint.
Step 4: Build a flow blueprint before you build UI
Use this simple blueprint for each persona:
- Entry condition: what must be true to start (first login, visited /dashboard, created workspace).
- Primary path: the shortest route to value (3 to 5 steps).
- Fallback path: what to show if the user skips or gets stuck (help article, shorter checklist, prompt to import sample data).
- Exit condition: what ends the flow (value event fired, checklist completed, or user dismissed twice).
This blueprint pairs well with a behavior-aware onboarding checklist so progress reflects what users actually do, not what you hope they do.
Flow builder basics that make user onboarding work
Pick patterns by job-to-be-done (not by preference)
Different UI patterns solve different onboarding problems. Here is a practical mapping you can apply when building a saas onboarding flow:
- Checklist: best for multi-step setup where users need a sense of progress and can complete tasks in any order.
- Tooltip: best for contextual hints at the moment of interaction (labels, empty states, “what is this?”).
- Speech bubble: best for guided nudges anchored to UI elements, especially when you need a short explanation plus a CTA.
- Modal: best for high-importance decisions (choose role, import method, connect integration) and announcements that must be acknowledged.
- Interactive tour: best for linear, guided sequences where order matters and the UI is unfamiliar.
A minimal “activation kit” most B2B SaaS can start with
If you are starting from scratch, build these three assets first:
- Role or use-case selector (modal) that sets a user attribute.
- Activation checklist (3 to 5 items) tied to tracked events.
- Contextual nudges (tooltips or bubbles) on the two highest-drop-off steps.
We initially assumed a full tour would reduce confusion, but after running onboarding audits across multiple products, the pattern was clear: a short checklist plus 2 to 3 contextual prompts usually beats a 12-step tour for time-to-value.
Rules of thumb to prevent “over-touring”
- One screen, one message: if a tooltip needs more than two short sentences, it should be a help panel or doc.
- Never block the core action: avoid modals that interrupt users mid-task unless it is a required decision.
- Make skipping safe: allow dismiss, then provide a way back via checklist or help icon.
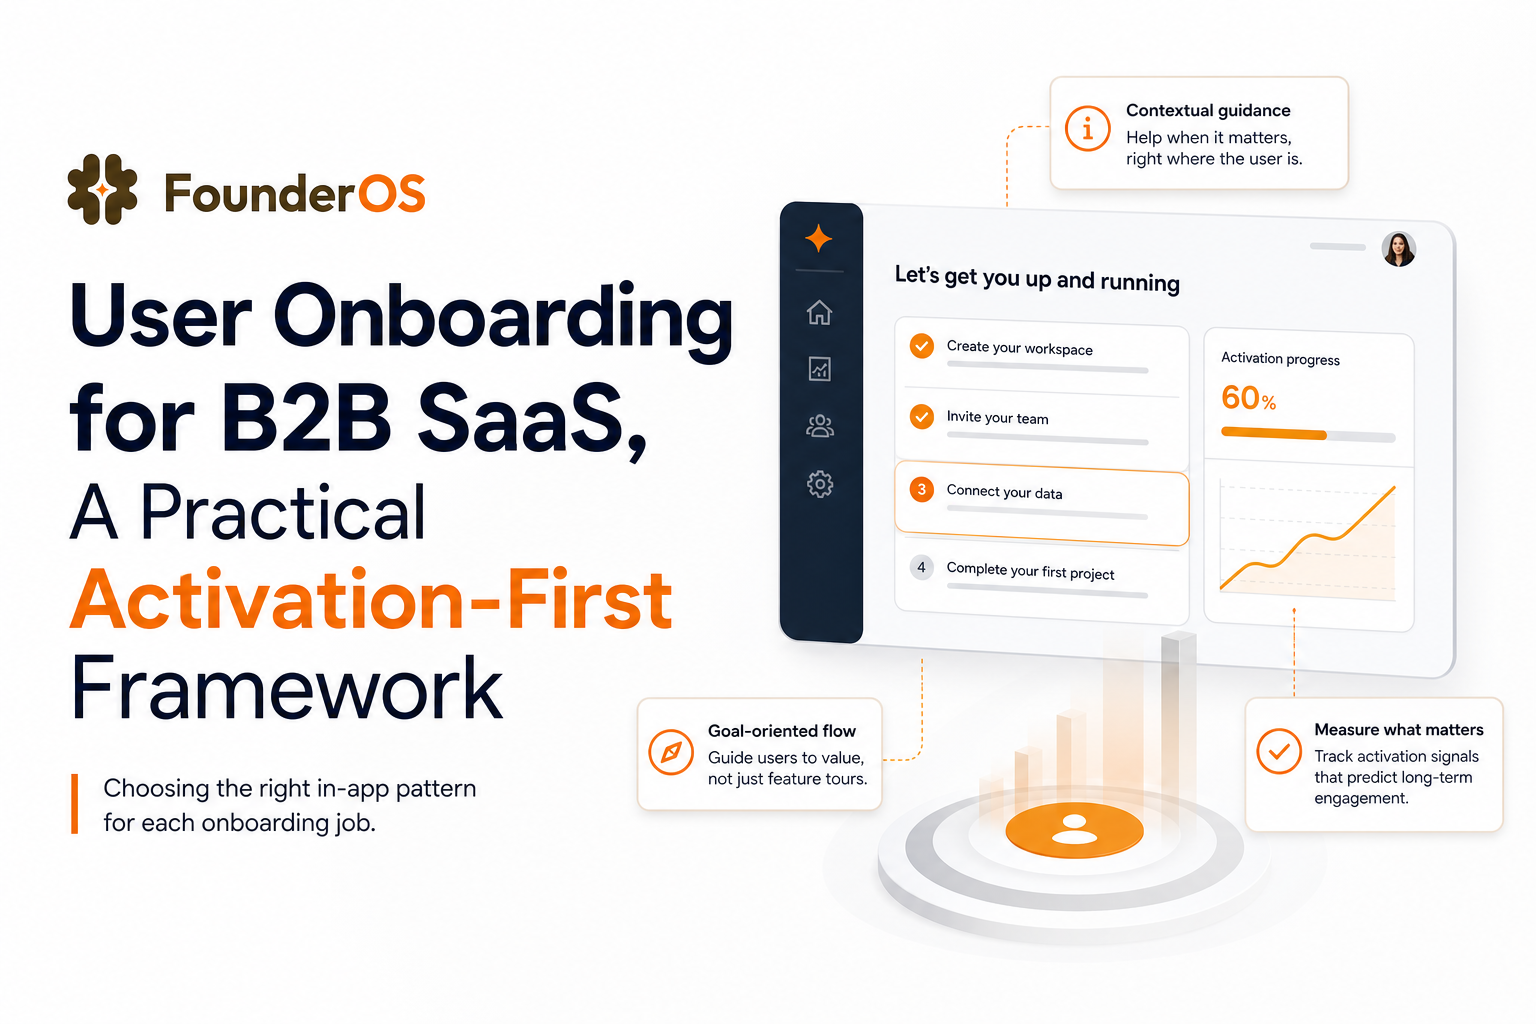
Triggering and personalizing onboarding without engineering
Use three trigger types (and know what each is good for)
Personalized user onboarding requires timing. Most teams only use “first login” triggers, which is too blunt. Use these three types instead:
- Time-based: show after signup, after 24 hours, or after the second session. Good for reminders and re-entry.
- Page or state-based: show on /dashboard, on empty state, or when a user opens a specific feature. Good for contextual guidance.
- Event-based: show after “created workspace” but before “connected integration.” Best for moving users through setup milestones.
Event-based onboarding is where behavior triggers make the biggest difference because they respond to what the user did, not what day it is.
Segment by role, maturity, and intent (a simple matrix)
You do not need dozens of segments. A workable segmentation matrix is:
- Role: admin vs contributor vs viewer
- Maturity: new (0-2 sessions) vs progressing (started setup) vs activated (hit value event)
- Intent signal: selected use case, visited pricing, invited teammate, imported data
When we tested role-based paths for admin vs contributor, completion rates stayed similar, but activation improved because each role saw fewer irrelevant steps and reached their own value moment faster.
Personalization checklist (no-code ready)
- Set a persona attribute at signup or first session (self-select or inferred).
- Define entry and exit conditions per flow so users do not see outdated steps.
- Add AND/OR logic for “show only if user has not done X” to prevent spammy repeats.
- Create a re-entry point (checklist, help widget, or “resume setup” button).
How to measure user onboarding success without vanity metrics
The metric stack: from UI completion to business impact
Track user onboarding with a stack of metrics so you can diagnose, not just report:
- Step conversion: percent of users who go from step N to step N+1 (per segment).
- Activation rate: percent reaching the value event within X days.
- Median time-to-value: time from signup to value event.
- Early retention: repeat of the value action in week 2 or week 4.
A measurement workflow you can run weekly
- Pick a cohort: users who signed up last week.
- Compare segments: admin vs contributor, use case A vs B.
- Find the first major drop: the step with the largest conversion fall.
- Decide the fix type: clarity (copy), friction (reduce fields), motivation (value framing), or timing (trigger later).
Benchmarks to sanity-check your numbers
Benchmarks vary by product complexity, but as a starting point: if your onboarding tour completion is high but activation is flat, you have a value mapping problem. For broader context on activation and retention metrics, Reforge’s free essays on growth loops and activation are a useful reference: Reforge Blog.
Common user onboarding mistakes and a quick fix checklist
Mistake 1: Optimizing for completion, not activation
Symptom: 70% complete the tour, but few connect data, invite teammates, or run the core workflow.
Fix: tie onboarding steps to the 3 to 5 critical actions and make the checklist event-driven. If a step is not necessary for the value event, remove it.
Mistake 2: Wrong timing (showing guidance before intent)
Symptom: users dismiss modals and never re-engage.
Fix: move prompts to the moment of need: empty states, first time opening a feature, or immediately after a prerequisite event.
Mistake 3: No fallback path when users skip
Symptom: users close the tour and wander, then churn or contact support.
Fix: add a re-entry surface: persistent checklist, “resume setup” button, or contextual help on the highest-friction screen.
Mistake 4: Missing instrumentation
Symptom: you cannot tell where users drop off, only that activation is low.
Fix: define events for each milestone, then review step conversion weekly. A lightweight standard for event naming and analytics hygiene is outlined in Amplitude’s tracking plan resources: Amplitude Tracking Plan.
Quick fix checklist (printable)
- We have 1 clear, trackable first value event.
- We have 3 to 5 critical actions mapped backward from that event.
- Each onboarding UI element maps to a job (progress, context, decision, sequence).
- Triggers are behavior-based where it matters, not only “first login.”
- We review activation rate and median time-to-value weekly by cohort and segment.
| Onboarding element | Best used for | Success metric to watch | Common failure mode |
|---|---|---|---|
| Checklist | Multi-step setup toward activation | % completing each item, activation rate | Items not tied to events, becomes “busywork” |
| Tooltip | Micro-clarity at point of interaction | Step conversion on that screen | Too much text, shown too early |
| Modal | High-importance choices and milestones | Choice completion rate, downstream activation | Interrupts core action, overused |
| Interactive tour | Linear sequences where order matters | Drop-off per step, time-to-value | Overlong tours optimized for completion |
User onboarding FAQ
What is the difference between user onboarding and a product tour?
A product tour is one tactic inside user onboarding. User onboarding includes the logic (segments, triggers, milestones) and the measurement system that gets users to a value event, not just through UI steps.
How many steps should an onboarding flow have?
For most B2B SaaS, aim for 3 to 5 critical actions to reach the first value moment. If you need more, split by persona or use case, or move advanced steps into post-activation education.
What should I measure first if I have no analytics?
Start with one activation event and instrument the 3 to 5 milestones that lead to it. Then track activation rate within 7 to 14 days and median time-to-value for new cohorts.
Can I personalize onboarding without engineering help?
Yes, if you can set user attributes (role, use case) and track key events. With those, you can build segmented flows and behavior-based triggers in no-code tools, then iterate based on step drop-offs.
If you want to implement this activation-first approach quickly, Founder OS combines a no-code product onboarding tool with product tracking and user segmentation so you can build, trigger, and measure user onboarding flows without waiting on engineering.
Read Next
View all
Onboarding Softwares for SaaS - The Shortlist and Buyer Scorecard for In-App Flows
Compare onboarding softwares for SaaS in-app tours and flows using a buyer scorecard, shortlist, pricing notes, and a 14-day rollout plan.
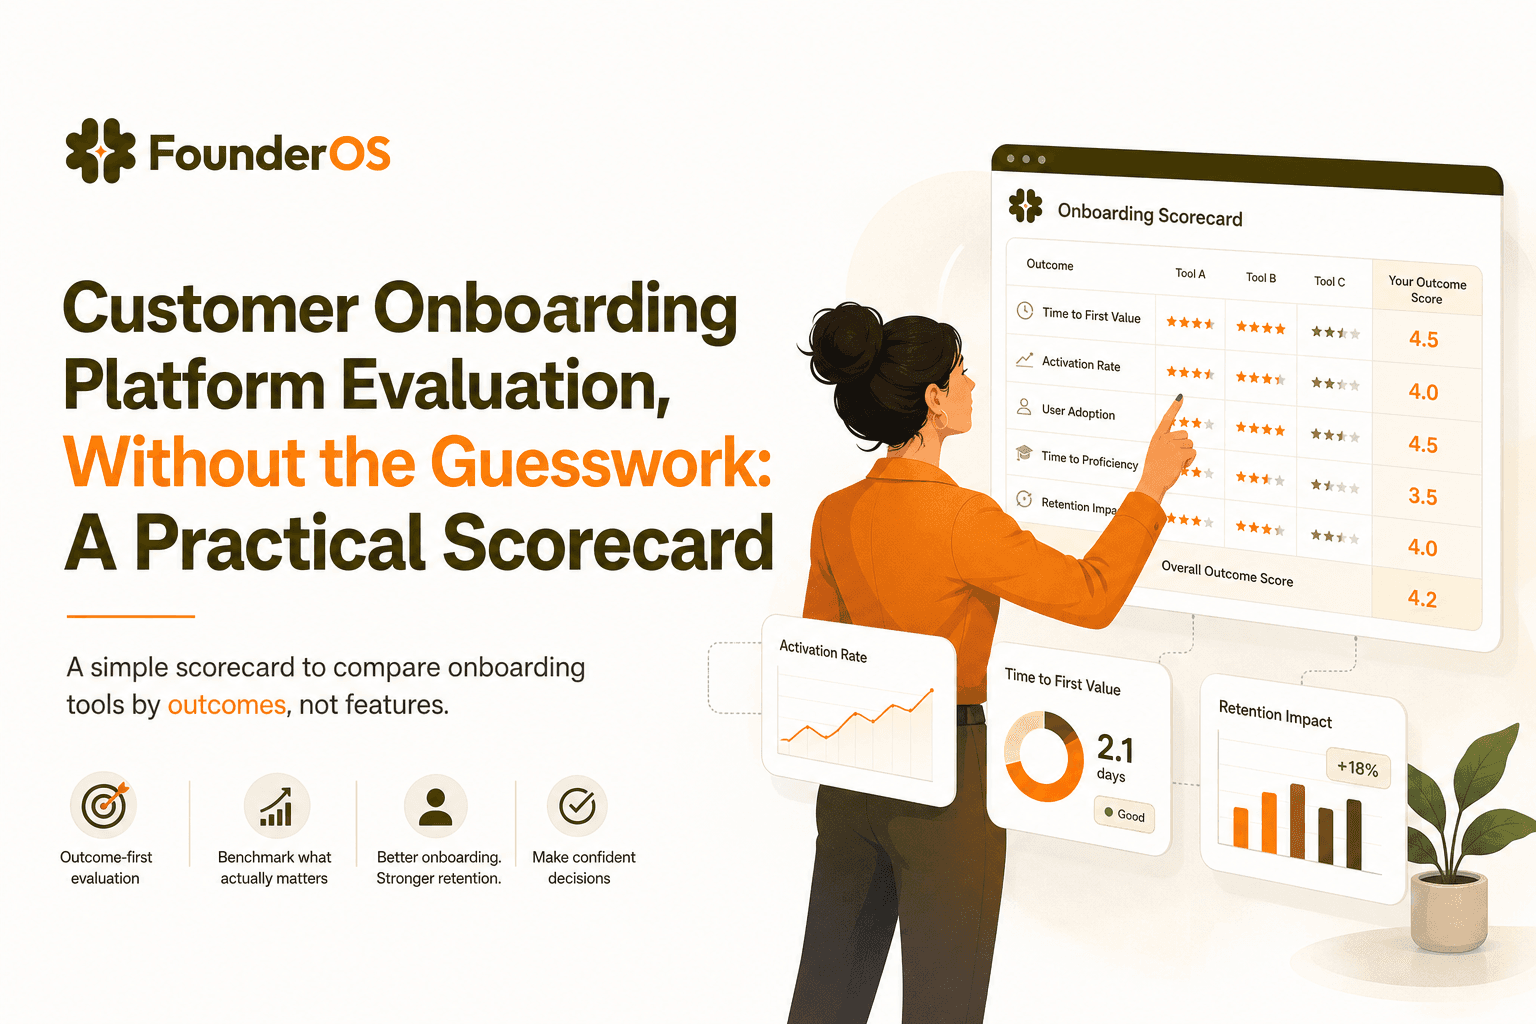
Customer Onboarding Platform Evaluation, Without the Guesswork: A Practical Scorecard
Use a customer onboarding platform scorecard to compare tools, avoid hidden costs, and improve activation with measurable onboarding outcomes.
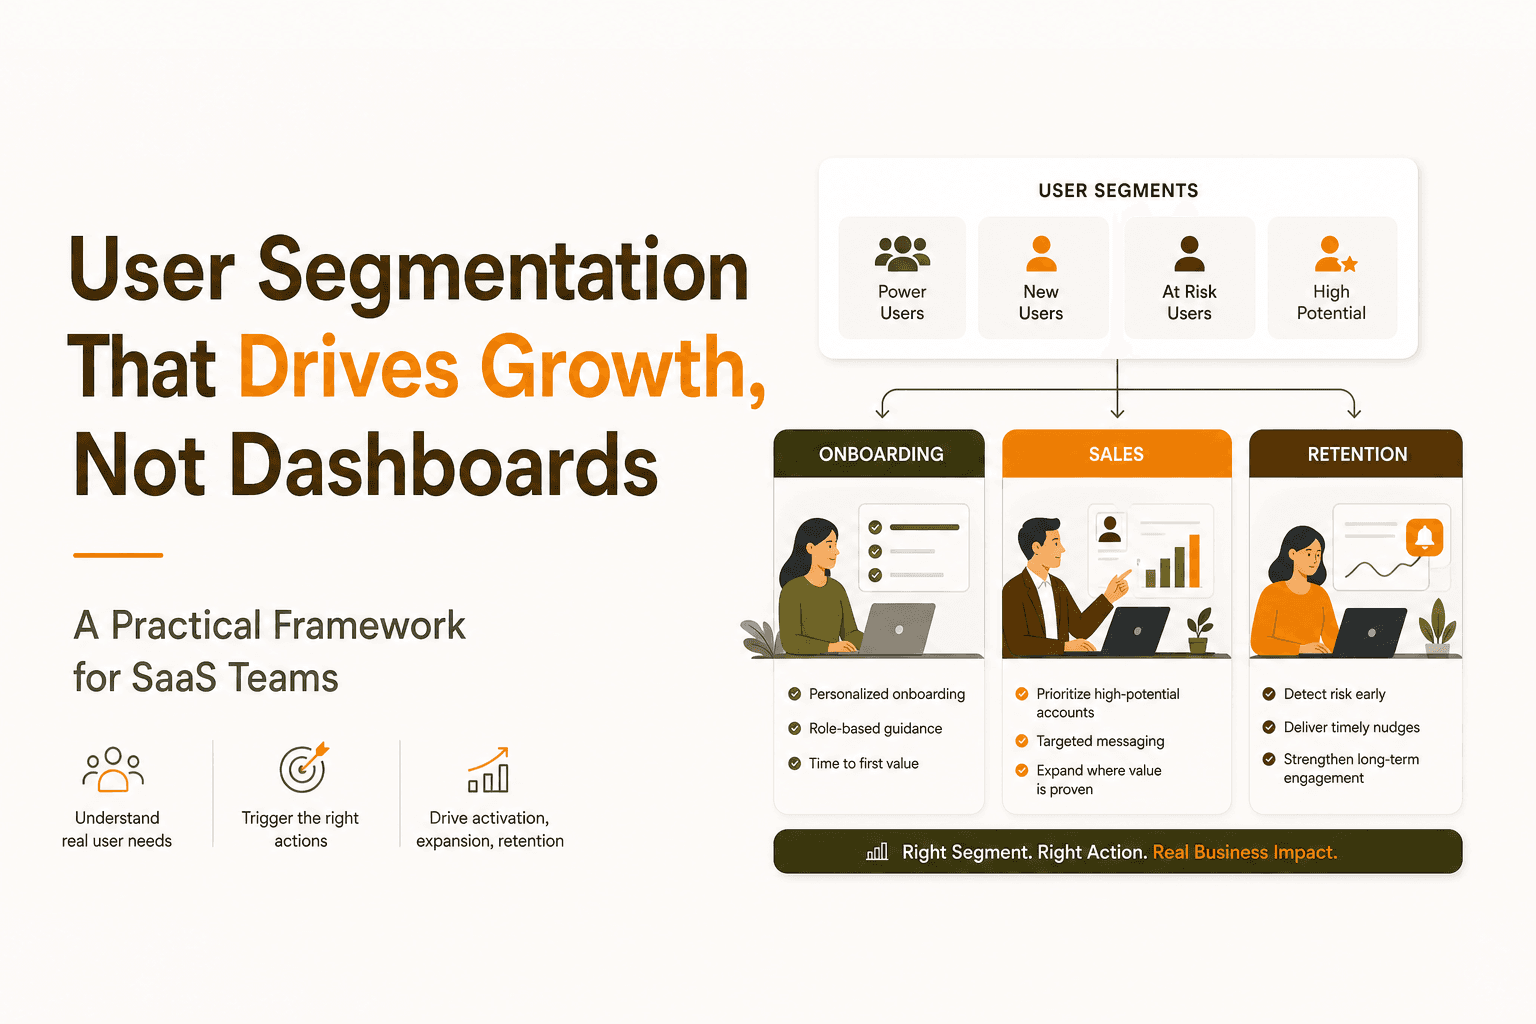
User Segmentation That Drives Growth, Not Dashboards - A Practical Framework for SaaS Teams
Learn user segmentation that powers onboarding, lifecycle messaging, and sales outreach with a simple framework and tool checklist.