
Onboarding Flows Explained, A Practical Framework to Drive Activation
Most B2B SaaS teams build onboarding flows to “show the product,” then wonder why trial users still fail to reach value. The problem is not effort. It is that many flows are optimized for tour completion instead of time-to-value and activation.
- Define onboarding flows as a measurable path to an activation milestone, not a one-time product tour.
- Design flows around jobs-to-be-done, with clear triggers, exit criteria, and step-by-step in-app behaviors you can measure.
- Measure impact with activation cohorts and step drop-off diagnostics, then iterate weekly with small experiments.
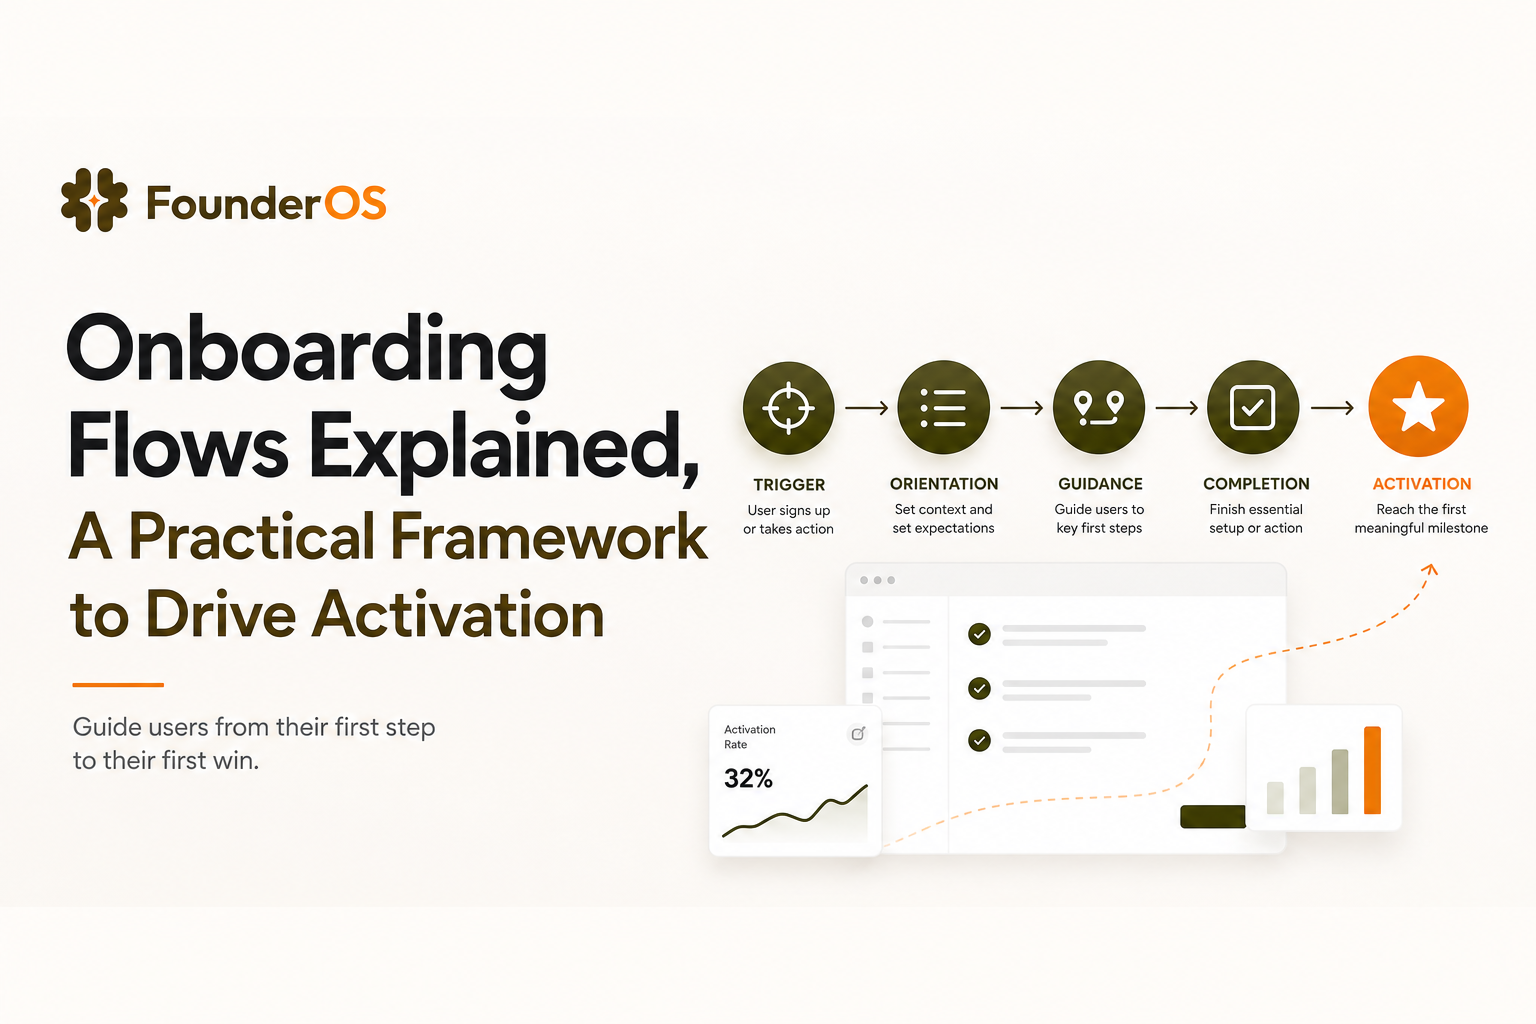
What onboarding flows are and why they matter in B2B SaaS
Definition: Onboarding flows are a sequence of in-app prompts and actions that guide a specific user segment from “first session” to a measurable activation milestone (their first meaningful outcome), with explicit entry and exit rules.
Onboarding flows vs product tours vs checklists
These are often mixed up, which creates bloated experiences. Use this quick decision guide:
- Flow: A guided path tied to a milestone (example: “invite 2 teammates and connect Slack”). It has triggers, conditions, and an exit criterion.
- Guided tour: A linear walkthrough of UI elements. Useful for orientation, risky if it replaces real value. If you need a template, see this guided product tour blueprint.
- Checklist: A persistent set of tasks that lets users self-pace. It works best when tasks map to activation steps and adapt by behavior, like this onboarding checklist approach.
Why “completion rate” is a trap
A 70% tour completion rate can coexist with flat activation if the tour teaches clicks instead of outcomes. In B2B SaaS, users do not buy “knowing where settings are.” They buy a result: a report, a workflow, a connected integration, a first successful collaboration.
The business impact is time-to-value, not polish
When onboarding flows shorten time-to-value, you typically see downstream effects: fewer “how do I…” tickets, higher trial-to-paid conversion, and better retention because users build habits earlier. The key is to define activation clearly. If you do not have a crisp definition, start with this guide to user activation so your flow has a real target.
The core building blocks of high-performing onboarding flows
High-performing onboarding flows look simple to users, but they are built from a few precise components. If any component is vague, the flow becomes noisy or irrelevant.
1) Trigger rules that match intent
Use triggers that indicate intent, not just “new user = show tour.” Practical trigger patterns:
- First-time URL visit: user lands on /dashboard for the first time.
- Feature intent: user clicks “Integrations” but does not complete connect within 60 seconds.
- Behavior-based: user imported data but has not created their first report within 24 hours.
- Role-based: admin sees setup flow; member sees “how to contribute” flow.
2) Step design that forces progress toward value
Each step should do one of three jobs:
- Explain the “why” in one sentence (what outcome they get).
- Point to the “where” (the exact UI element).
- Prompt the “do” (a concrete action that moves them closer to the milestone).
Rule of thumb: if a step does not change the user’s state (data created, integration connected, teammate invited, setting enabled), it is probably fluff.
3) UI patterns and when to use them
- Tooltip: best for “do this now” micro-actions (rename workspace, set a default).
- Speech bubble: best for 2 to 4 step sequences anchored to the UI (create first project, add first item).
- Modal: best for a decision or context before action (choose a use case, pick a template). Keep it rare.
- Survey: best for segmentation inputs (role, goal, data source) or fast feedback after value.
4) Personalization inputs you can actually maintain
Personalization fails when it relies on data you do not have. Use a tiered approach:
- Tier 1 (always available): URL, device, referrer, first session vs returning.
- Tier 2 (product data): role, plan, workspace size, key feature usage.
- Tier 3 (declared intent): use case selection, “what are you trying to do?” survey.
5) Exit criteria that prevent “nagging”
Every onboarding flow needs a stop condition, or users will see prompts after they have already succeeded. Common exit criteria:
- Milestone achieved (example: “first report created”).
- User dismisses twice (treat this as a strong signal).
- Time window expires (example: only show in first 7 days).
- User is in an incompatible segment (example: members should not see admin setup).
A simple framework to design onboarding flows around activation
Use this 4-step framework to design onboarding flows that drive real outcomes.
Step 1: Write the activation milestone as a user outcome
Format: “User gets [outcome] by doing [behavior] with [object].”
- Example (analytics SaaS): “User gets a usable funnel insight by tracking 3 key events and viewing the funnel report.”
- Example (CRM): “User gets a working pipeline by importing 50 contacts and creating 1 deal stage.”
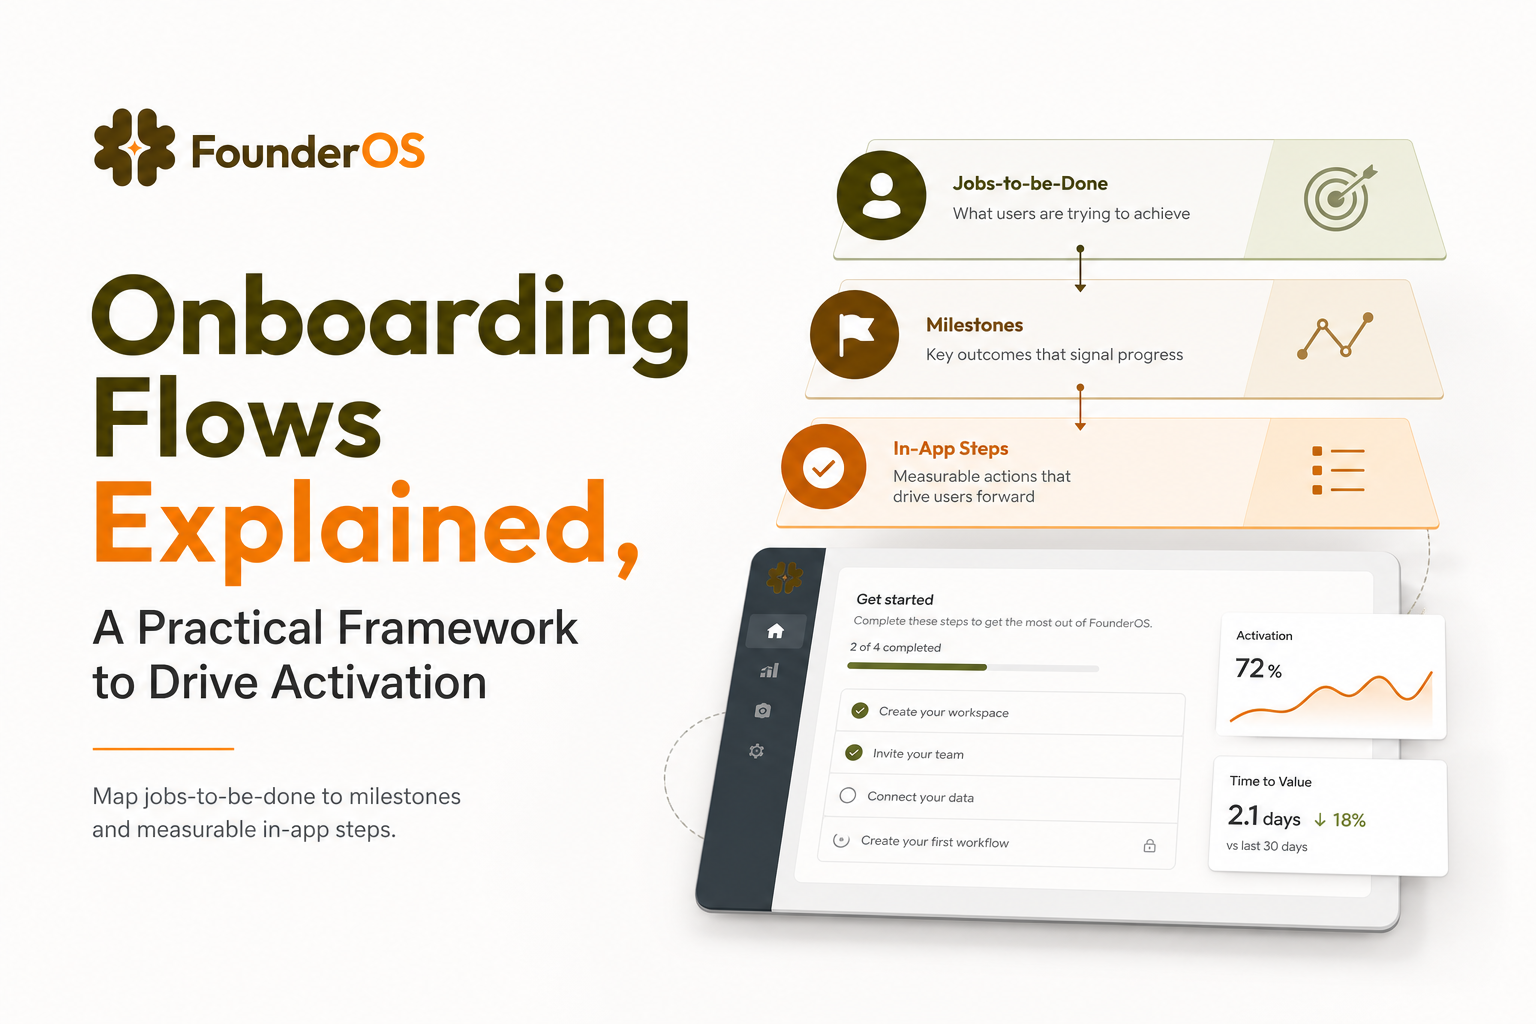
Step 2: Map jobs-to-be-done to 2 to 3 milestones
Most products have multiple “first value” paths. Do not force everyone into one. A quick mapping looks like this:
- Job A: “I need visibility.” Milestone: connect data source + view first report.
- Job B: “I need collaboration.” Milestone: invite teammates + assign first task.
- Job C: “I need automation.” Milestone: connect integration + enable rule.
Step 3: Convert each milestone into measurable in-app steps
For each milestone, define 3 to 7 steps that are observable events. Here is a concrete example for “connect integration + send first message”:
- Open Integrations page
- Click “Connect Slack”
- Authorize (success event)
- Select channel
- Send test message (success event)
Now your flow is measurable. You can see where users drop and which step correlates with activation.
Step 4: Decide what happens when users do not follow the happy path
Design a “recovery route” for common failures:
- If authorization fails: show a tooltip with a link to permissions help and a retry CTA.
- If user abandons mid-flow: resume with a checklist item, not a modal.
- If user is blocked by missing data: offer an import template or sample data mode.
Segmentation and timing how to deliver the right flow to the right user
Segmentation is where onboarding flows become efficient. Without it, you either overwhelm users or under-educate them.
Segment by role and permissions first
Start with the simplest split:
- Admin/setup role: billing, integrations, workspace settings, security.
- Contributor/end user: daily actions, collaboration, personal productivity.
Checklist: If a step requires a permission, it must be removed for segments without that permission, or replaced with “ask your admin” guidance.
Segment by use case second (declared or inferred)
Use a 1-question survey early (modal) or infer from entry point:
- “What are you here to do?” options tied to your top 3 jobs.
- Landing page or template chosen (example: “Sales dashboard” vs “Product analytics”).
Segment by lifecycle and behavior third
Timing rules that work in practice:
- Session 1: only steps that unblock setup and produce a visible win within 5 minutes.
- Session 2 to 3: deepen usage (secondary features that increase stickiness).
- After first value: introduce expansion prompts (invite teammates, integrations, automation).
A simple targeting matrix you can reuse
Before you ship a flow, fill this in:
- Audience: (role, plan, use case)
- Trigger: (event or URL)
- Suppression: (who should never see it)
- Exit: (event that ends it)
- Success metric: (activation event or milestone completion)
How to measure onboarding flows beyond completion rate
Completion is a UI metric. Activation is a business metric. You need both, but they answer different questions.
Measure 3 layers: flow, milestone, and retention
- Flow layer: step completion, drop-off per step, time per step.
- Milestone layer: % of users who reach activation within N days (common windows are 1, 7, 14 days depending on sales cycle).
- Retention layer: do activated users return and repeat the core action (weekly or monthly depending on product cadence)?
Use cohort comparisons to prove impact
Run an A/B or time-based cohort comparison:
- Cohort A: users exposed to the flow
- Cohort B: users not exposed (or exposed to the previous version)
Compare activation rate and time-to-activation, not just completion. If you need a structured way to evaluate tooling that supports this measurement loop, use a customer onboarding platform scorecard.
Diagnose drop-off with “step intent” tagging
Tag each step as one of these intents:
- Context: explains outcome
- Navigation: points to UI
- Action: creates state change
If drop-off spikes on context steps, your copy may be too long or too generic. If drop-off spikes on action steps, you likely have friction: permissions, missing data, confusing UI, or slow load time.
Iteration cadence that fits real teams
A practical cadence for onboarding flows:
- Weekly: review top 1 to 2 drop-off steps and ship one small change.
- Monthly: run one bigger experiment (new segmentation question, new milestone path).
- Quarterly: re-validate your activation definition and milestones as the product evolves.
If you want to move fast without waiting on engineering for every iteration, the operating model is usually no code onboarding plus reliable event tracking.
Common onboarding flow mistakes and how to fix them fast
Here are the failure modes that repeatedly show up in B2B SaaS, plus specific fixes you can apply this week.
Mistake 1: Overlong “everything tour” on day one
- Symptom: high dismiss rate, low activation, users complain it is distracting.
- Fix: cap first-session flow to 3 to 5 steps and 1 visible win. Move the rest into contextual tooltips triggered by intent.
Mistake 2: One flow for every persona
- Symptom: steps refer to features users cannot access or do not need.
- Fix: split by role + use case. Even two variants usually outperform one generic flow.
Mistake 3: Modal overload
- Symptom: users feel blocked from using the app.
- Fix: reserve modals for choices and segmentation. Use anchored patterns (tooltips, bubbles) for actions.
Mistake 4: No clear value moment
- Symptom: users complete steps but do not feel progress.
- Fix: rewrite each step to reference an outcome, and ensure the flow ends with a “ta-da” state (a report rendered, an integration connected, a teammate joined).
Mistake 5: Shipping once and never iterating
- Symptom: onboarding flows become outdated as UI changes, and performance silently degrades.
- Fix: set an owner, a weekly review, and one experiment backlog. Treat onboarding like a product surface, not a one-time project.
| Goal | What to measure | Good signal | Red flag |
|---|---|---|---|
| Reduce friction | Step drop-off by step intent | Drop-off concentrated in 1 to 2 steps you can fix | Drop-off everywhere, unclear milestone |
| Improve activation | % activated within 7 days (cohort) | Lift in exposed vs unexposed cohort | No lift despite high completion |
| Shorten time-to-value | Median time to activation event | Time decreases after flow changes | Time increases, flow adds friction |
| Reduce support load | Ticket tags for “setup/how-to” topics | Fewer tickets after targeted flows | Tickets unchanged, flow not addressing blockers |
FAQ about onboarding flows
If you want to iterate on onboarding flows without engineering bottlenecks, Founder OS combines a no-code flow builder with behavior-based targeting and analytics so you can ship, measure, and refine activation paths in days instead of weeks.
Written by Ivy Tran
Founder of FounderOS, sharing practical insights on SaaS growth, product analytics, and user activation.
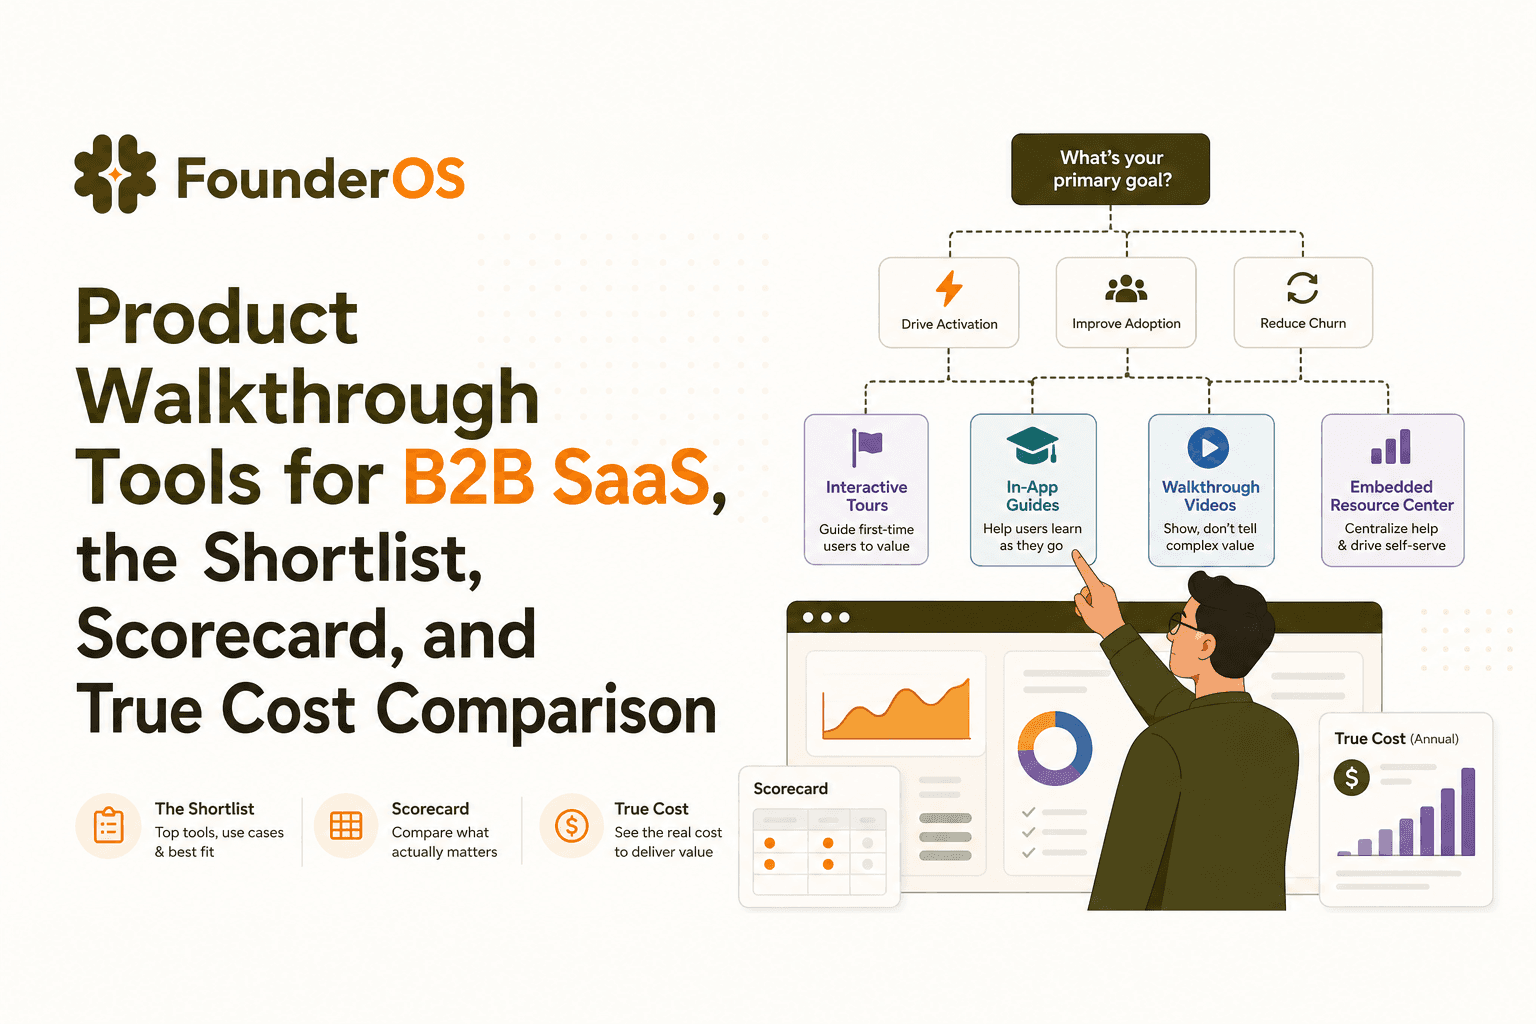
Product Walkthrough Tools for B2B SaaS, the Shortlist, Scorecard, and True Cost Comparison
Compare product walkthrough tools for B2B SaaS with a shortlist, success scorecard, and true cost scenarios for 2k, 10k, and 50k users.

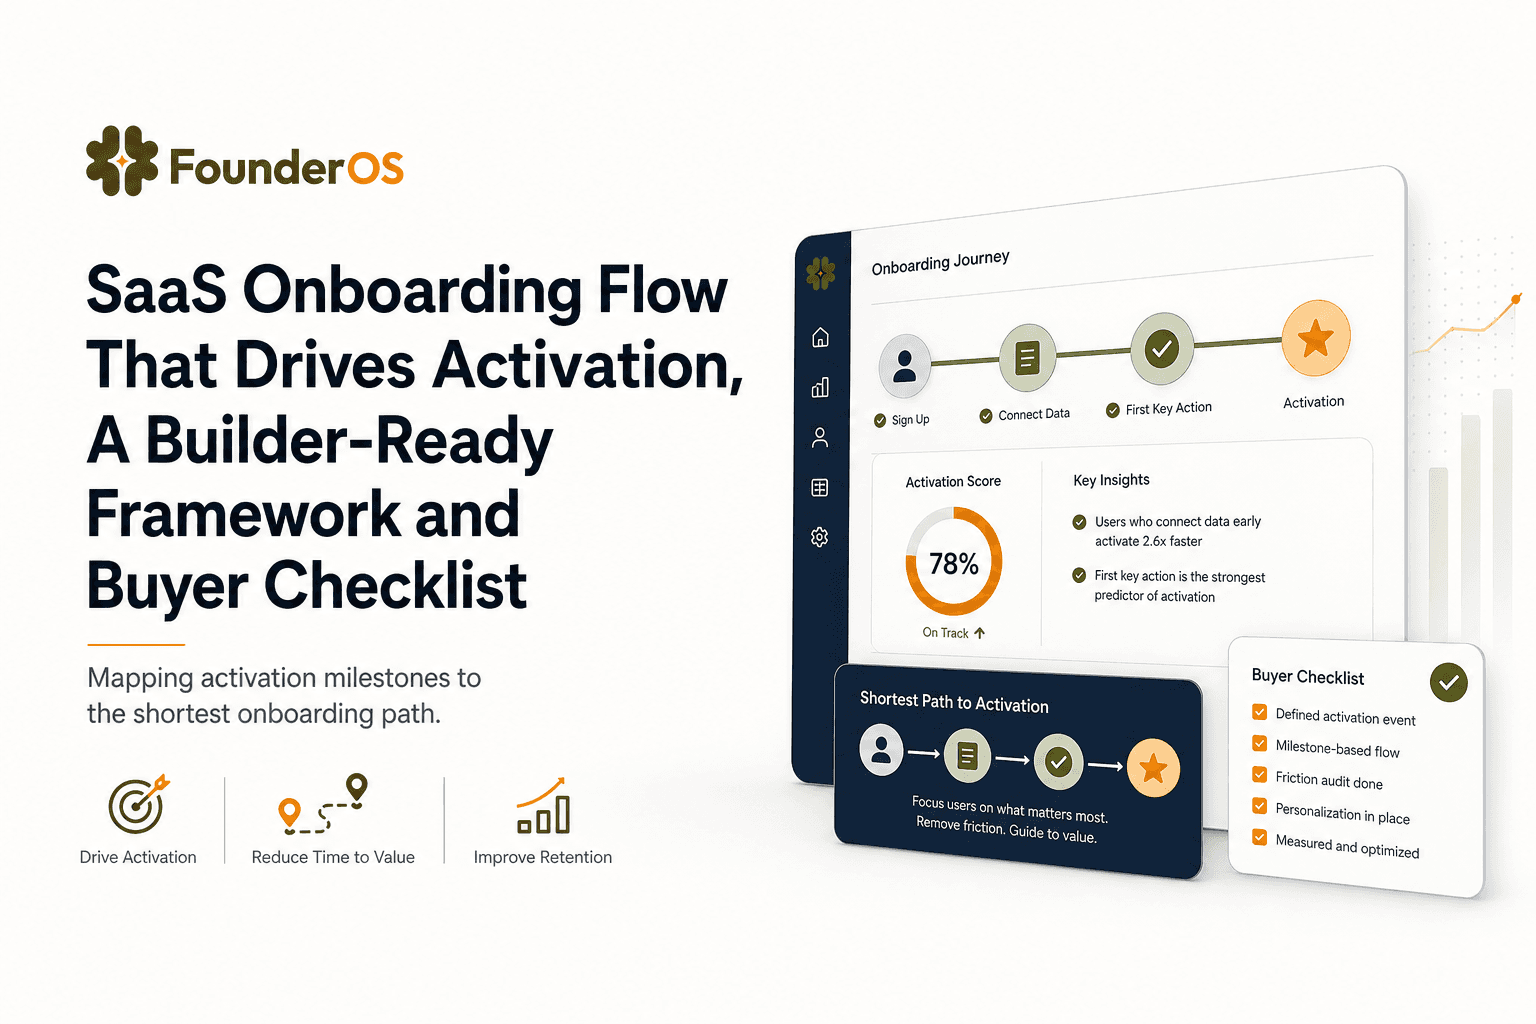
SaaS Onboarding Flow That Drives Activation, A Builder-Ready Framework and Buyer Checklist
Build a saas onboarding flow that drives activation with segments, triggers, tracking, and a buyer checklist for no-code flow builders.

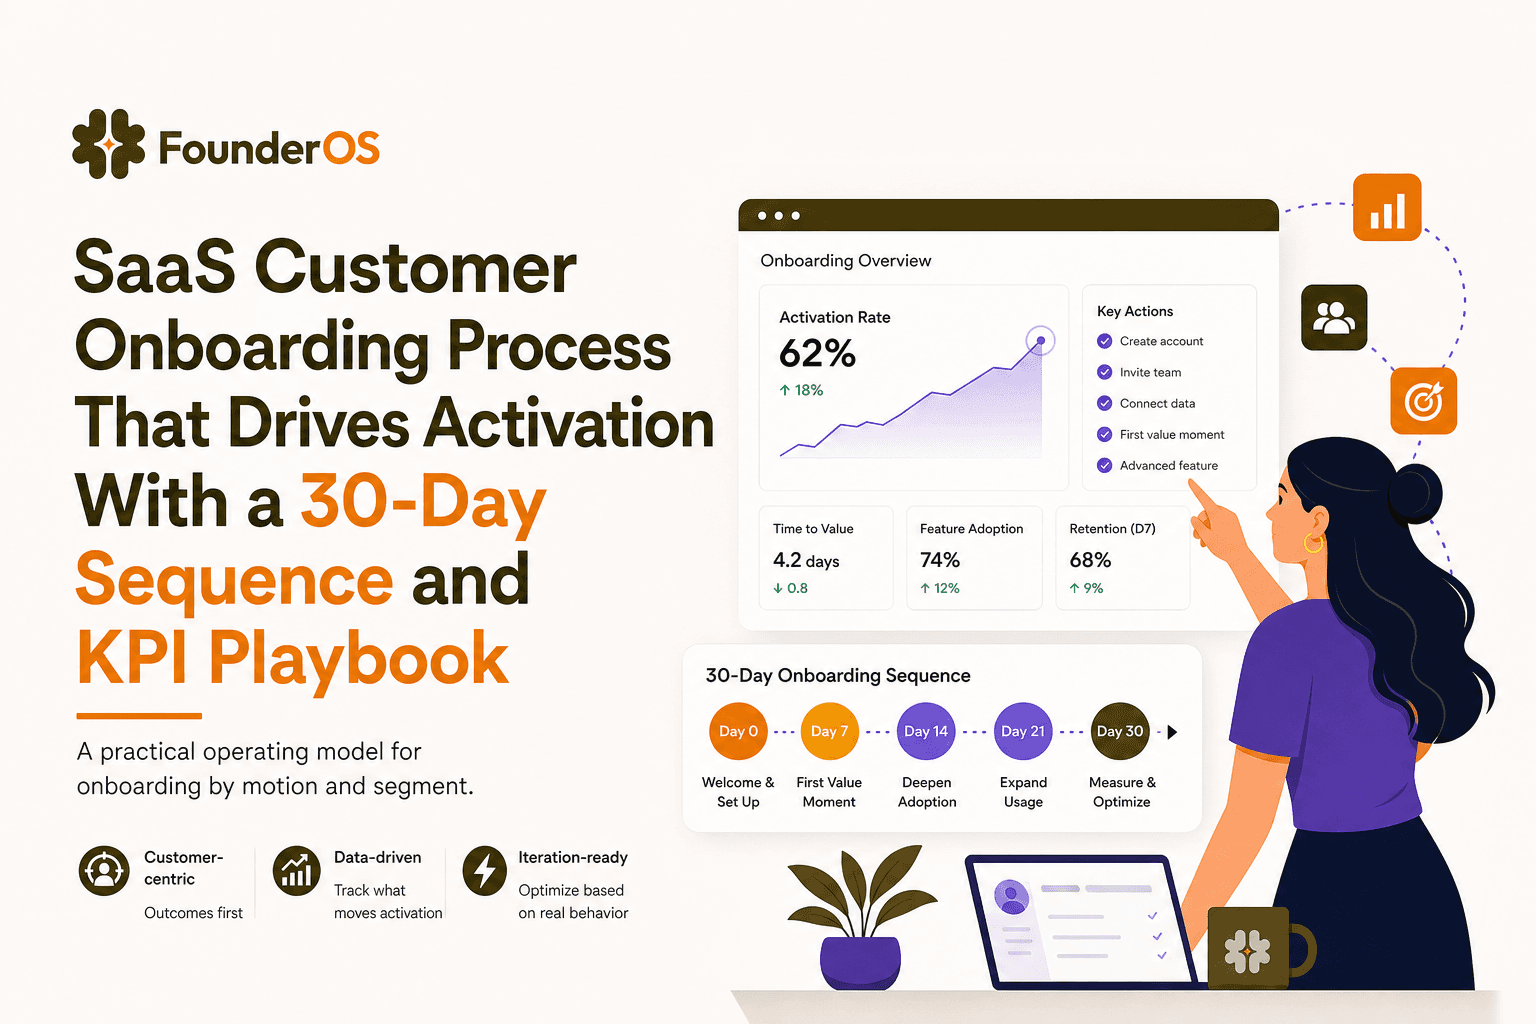
SaaS Customer Onboarding Process That Drives Activation With a 30-Day Sequence and KPI Playbook
Build a saas customer onboarding process with a 30-day sequence, triggers, RACI ownership, and KPI formulas to reach activation faster.
