
User Onboarding Flow For SaaS Teams, A Practical Activation Framework
A user onboarding flow performs best when it is designed around the first measurable activation outcome for each user segment, not around a generic product tour. Teams ship long walkthroughs that users skip because the flow is optimized for “seeing features” instead of reaching an early success state that predicts retention, expansion, or lower support burden.
- Anchor your user onboarding flow to a single activation event per segment (role, use case, or motion) and treat everything else as optional education.
- Pick flow types by intent and complexity: fast-path for high-intent users, guided path for users who need setup or data, and rescue paths when users stall.
- Measure impact with activation rate, time-to-value, and step-level drop-off by segment, then iterate one hypothesis at a time.
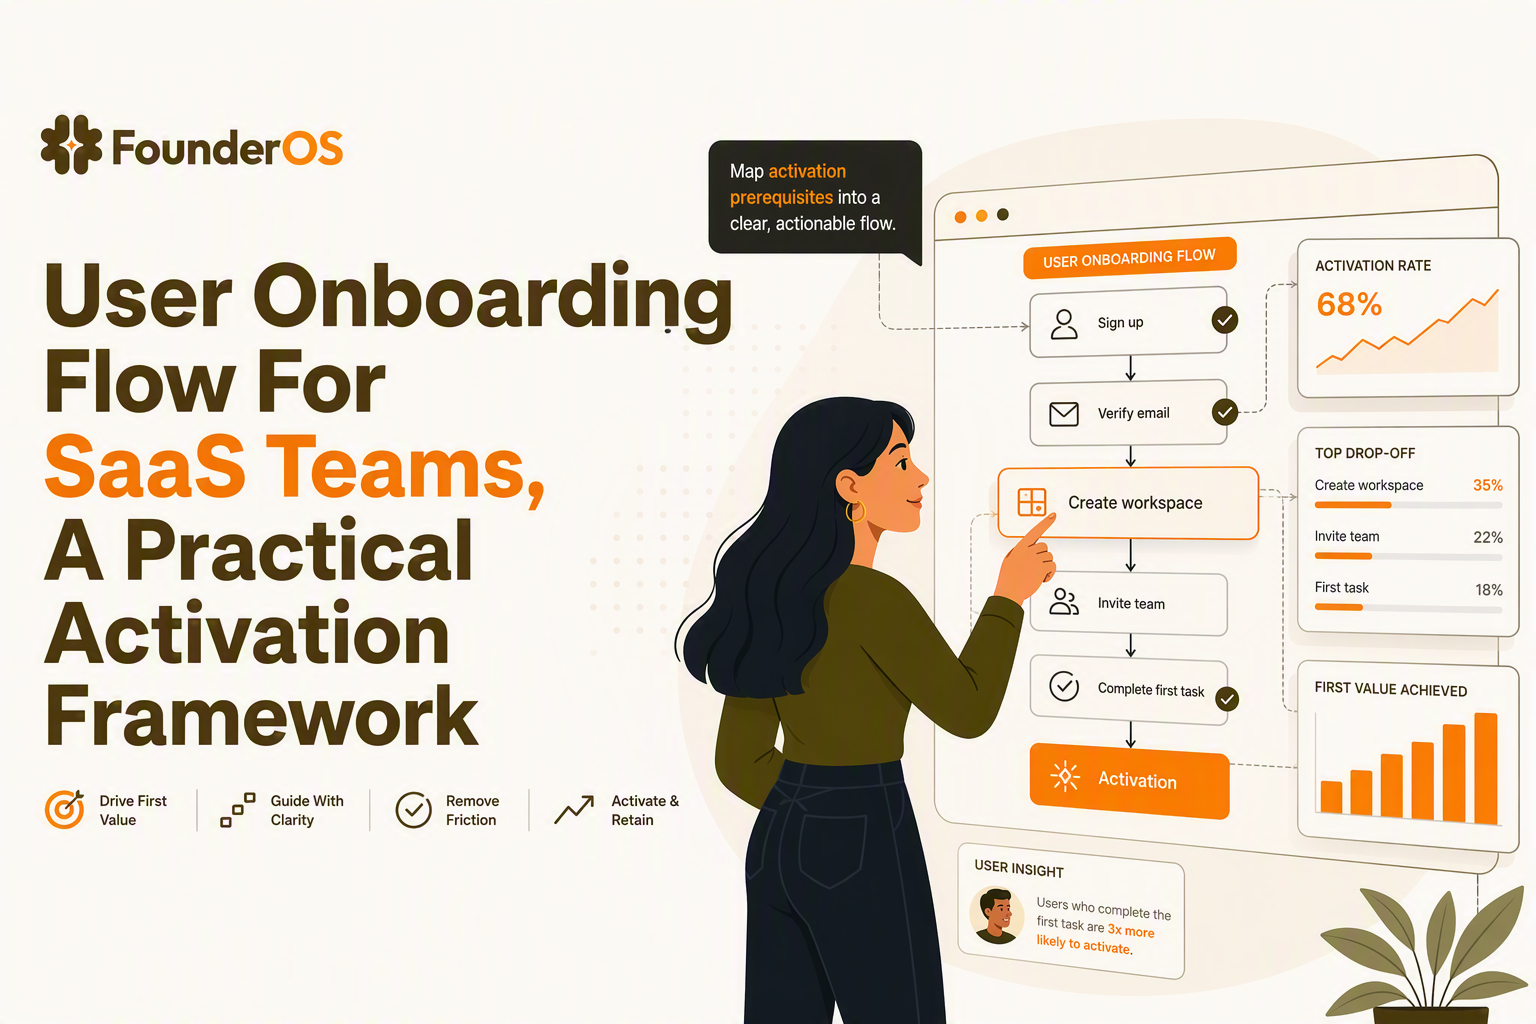
Start With The Activation Moment, Not The Tour
A user onboarding flow should be anchored to one “activation moment” that can be measured in your product analytics and strongly indicates the user has experienced real value. If the flow does not move that metric, completion rates are vanity and you will keep adding steps to compensate.
Define activation as an observable outcome, not engagement
Use a rule that forces specificity: an activation event must be (1) user-initiated, (2) repeatable, and (3) clearly tied to value. “Visited dashboard” or “clicked around” fails because it is ambiguous. “Invited a teammate,” “connected a data source,” or “created and shared the first report” is clearer because it implies the user crossed a capability threshold.
Use a 15-minute activation workshop to choose the anchor event
When we run activation audits, we start by writing down the fastest path from “signed up” to “got value” in plain language, then translate it into one trackable event. A simple workshop agenda that consistently works:
- List 3 candidate outcomes (example: “sent first invoice,” “shipped first API call,” “published first page”).
- Pick the earliest outcome that still implies value (not necessarily the biggest outcome).
- Define the event precisely: name, properties, and qualifying conditions (example: report_created where rows > 0).
- Write the minimal prerequisites that must be true before the event can happen (example: “connect Stripe,” “add one teammate,” “import CSV”).
Turn activation into an onboarding contract
Once you pick the activation moment, treat it like a contract that governs your flow design:
- Every step must directly reduce friction on the path to that event, or it gets removed, postponed, or made optional.
- Education gets sequenced after activation unless it is a prerequisite (tooltips can wait; setup cannot).
- One segment, one anchor: if two segments have different activation moments, they need different paths.
Map Industry Context To The Right First Steps
Industry context determines the prerequisites to activation, so the right user onboarding flow changes by go-to-market motion and by how much “setup work” a user must do before value appears. A flow that works for a self-serve product with instant value fails in products that require data, permissions, or multi-user alignment.
Use a prerequisite map, not a feature list
Build a prerequisite map with three columns: Activation event, Prerequisites, Fastest proof of value. The third column is important because it lets you offer a “lightweight win” even if full setup takes time.
| Common SaaS context | Typical activation event | Likely prerequisites | Fastest proof of value |
|---|---|---|---|
| Sales-led (demo-to-contract, multi-stakeholder) | First shared artifact (proposal, report, workspace) | Roles/permissions, workspace setup, teammate invite | Pre-filled template and “share link” in 2 clicks |
| Self-serve PLG (instant value) | First successful task completion | Minimal profile, sample data optional | Guided “do one thing now” walkthrough |
| Data-heavy (analytics, BI, finance ops) | First data source connected and queried | Connector auth, schema selection, initial sync | Test connection + sample dashboard |
| Collaboration tools | Second user engaged in shared space | Invite flow, notifications, default project | One-click invite + starter project |
Sequence steps by “blocking” vs “accelerating”
Classify every onboarding step as either blocking (without it, activation cannot happen) or accelerating (it increases odds of activation but is not required). Then enforce a sequencing rule:
- Blocking steps go in the critical path, but kept as short as possible.
- Accelerating steps move to a checklist, contextual tooltip, or a post-activation nudge.
In our experience working with B2B tools that require setup, most “long onboarding” problems come from mixing accelerating education into the blocking path. Splitting the two usually cuts perceived complexity without removing any information.
Decide your default path based on intent signals
Industry and motion shape intent signals you can use at the start:
- High intent: came from an integration docs page, invited teammates quickly, imported data. Default to a fast-path and avoid modals.
- Exploring: came from a blog, bounced between pages, no setup started. Default to a short “choose your goal” step and a checklist.
- Evaluating for a team: adds company details, views pricing/security pages. Default to templates, roles, and shareable artifacts.
Choose Flow Types Based On User Intent And Complexity
Flow type should be chosen by the user’s intent and by how many decisions or prerequisites stand between sign-up and activation, because the wrong format creates friction even if the content is correct. Teams often default to one long tour, but the better pattern is a short decision upfront and then the minimum UI guidance required for the chosen path.
A simple selection matrix for in-app formats
Use this matrix to pick formats that match effort and risk:
- Modal: best for one-time choices (pick use case, confirm setup), not for step-by-step UI driving. If it blocks the UI, keep it to one decision and one next action.
- Interactive walkthrough (bubbles/tooltips anchored to UI): best when the user must complete a precise sequence (connect, configure, run). Limit to the shortest chain that reaches the activation moment.
- Checklist: best when tasks can be done in any order, or when setup spans sessions. Checklists reduce anxiety because users see “what’s left.” For a deeper framework, see onboarding checklist.
- Contextual tooltip: best after activation, when the user is already moving and you are accelerating adoption of the next feature.
- Segmented paths: best when role or job-to-be-done changes the activation moment. If you need more than two paths, ask whether your segmentation is too granular.
Design three paths: fast, guided, and rescue
A durable user onboarding flow usually needs three paths, not one:
- Fast path for high-intent users: 3 to 5 steps maximum, minimal copy, no extra explanation.
- Guided path for users who need setup help: includes inline validation, helpful defaults, and a checklist for multi-session progress.
- Rescue path for stalled users: triggers when a user fails a step, abandons setup, or revisits the same screen without progress. Rescue is typically one tooltip plus a clear CTA to retry or contact support.
We initially assumed longer explanations reduced errors, but short “do this now” prompts paired with better defaults typically reduce abandonment more than paragraphs of education. The key is to explain only the decision the user is making in that moment.
Keep every step tied to a measurable hypothesis
Before you add any step, write the hypothesis in one line: “If we add X prompt at Y moment, then Z percent more users will complete the activation event within N minutes.” You do not need the percent upfront, but you do need the metric and the time window.
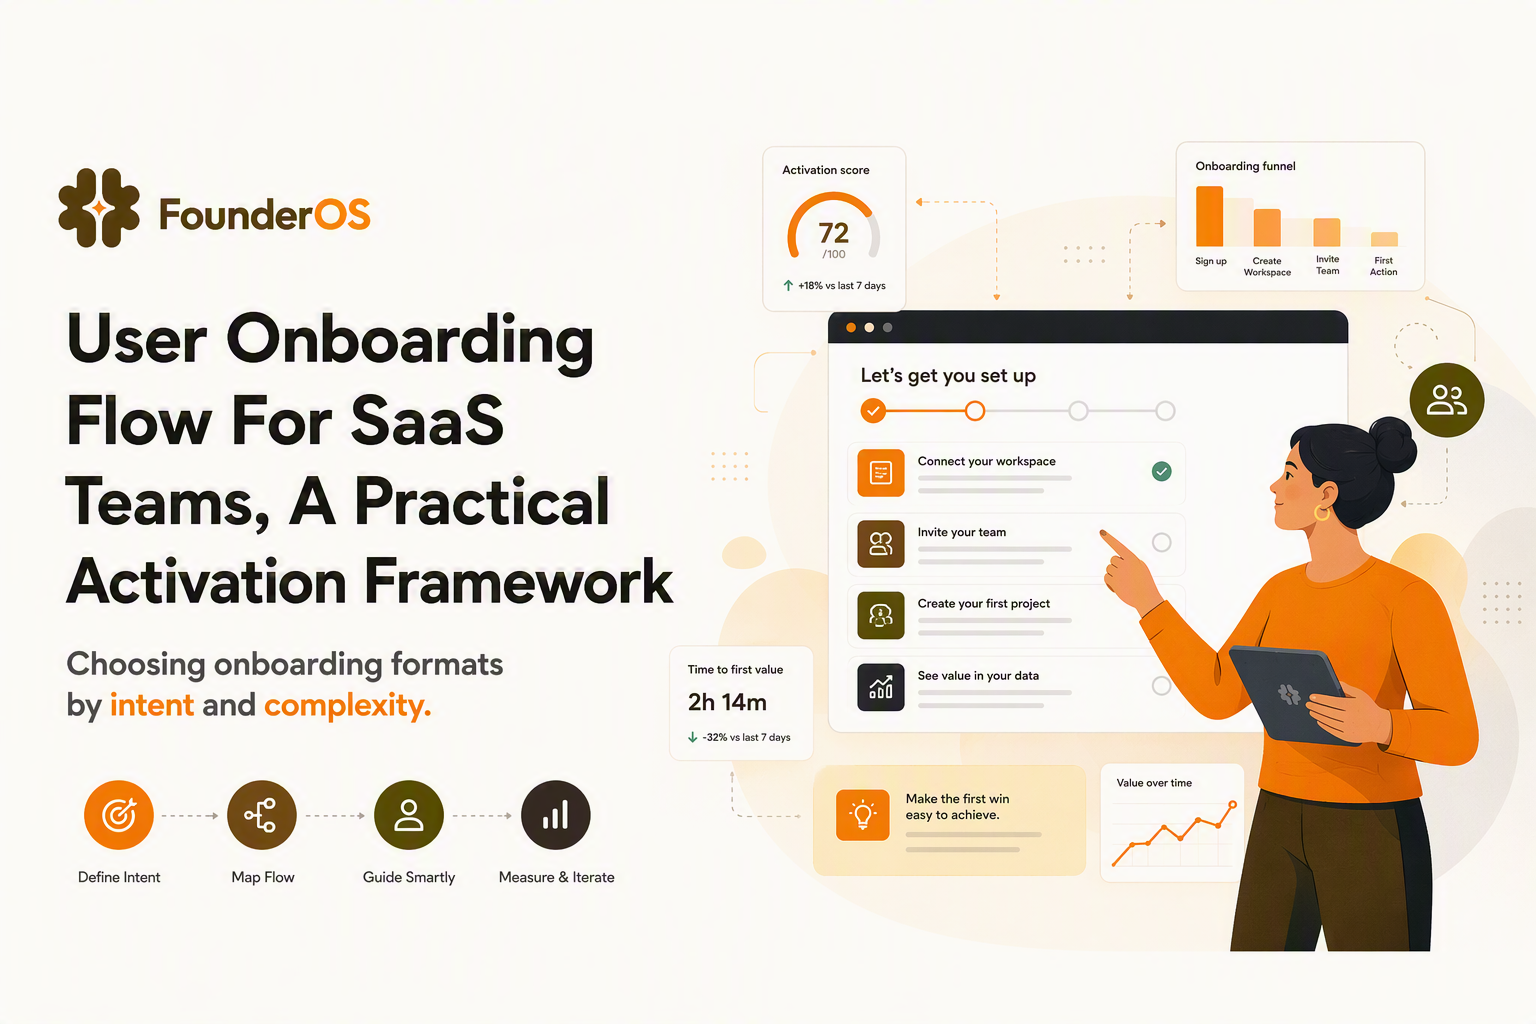
Measure Whether The Flow Actually Improves Activation
Measuring a user onboarding flow requires separating “did they finish the tour” from “did they reach activation faster and more often,” because completion can go up while activation stays flat. The goal is to prove causality as much as possible with segment comparisons and before-after baselines.
Four metrics that create a usable scorecard
- Activation rate: percent of new users who complete the activation event within a defined window (for example, 24 hours or 7 days, depending on your product cycle).
- Time-to-value: median time from signup to activation event; median is more robust than average.
- Step drop-off: where users abandon the guided path; use this to find friction, not to optimize “pretty” UI.
- Downstream proxy: pick one follow-on behavior that indicates durability (example: second project created, second login within 7 days). Avoid adding too many proxies.
Compare by segment to avoid false positives
Always cut these metrics by at least one segmentation axis, otherwise you will optimize for the easiest users:
- Role or job-to-be-done (admin vs contributor).
- Acquisition intent (integration-docs visitors vs generic traffic).
- Plan (free vs paid trial) if the product experience differs.
For teams building onboarding flows at scale, this segmentation is where most insights appear: the same step can help one segment and hurt another.
Instrument the minimum viable funnel from signup to activation
Track a short chain of events, and keep naming consistent: signup_completed → onboarding_started → prerequisite_completed → activation_event. If you cannot point to the event where users stall, you cannot iterate intelligently.
Refine The Flow With Segmentation And Iteration
Iteration improves a user onboarding flow only when each release changes one thing, targets one segment, and has a clear success metric, because bundled changes make results impossible to attribute. Personalization is powerful, but it should start with the segments that have different activation prerequisites, not with superficial demographic fields.
Personalize by what changes the activation path
Use a hierarchy of segmentation that maps to different paths:
- Role (admin, owner, analyst, agent): changes permissions, setup abilities, and required steps.
- Use case (reporting vs alerting vs collaboration): changes the activation moment itself.
- Behavior (started connecting data, invited teammate, visited a key page twice): indicates intent and where they are stuck.
- Industry only when workflows truly differ (compliance, terminology, templates).
Run small experiments with a change log
Keep a simple onboarding change log with four fields: date, segment, change, expected metric movement. After running enough iterations, you build institutional memory and stop re-arguing the same ideas. A practical cadence is weekly for high-traffic products and biweekly for lower volume, as long as you have enough new users to read the results.
Prioritize fixes using a friction audit
Use a friction audit that scores each step 1 to 5 on:
- Decision load (how many choices does the user face?).
- Data required (do they need info they might not have?).
- External dependency (SSO, API keys, approvals, teammates).
- Error likelihood (validation, permissions, missing fields).
After running multiple onboarding reviews, the pattern was clear: the biggest gains usually come from removing one high-friction prerequisite or adding a better default, not from rewriting copy. Copy matters most at decision points, not everywhere.
| Iteration type | What you change | Best metric to watch | When to use |
|---|---|---|---|
| Reduce steps | Remove or defer accelerating steps | Time-to-value, activation rate | Users start but do not finish setup |
| Improve defaults | Templates, pre-filled values, sample data | Step drop-off at setup screens | Users hesitate at configuration |
| Segmented branching | Role/use case selection and path split | Activation rate by segment | One flow underperforms for a specific role |
| Rescue nudges | Triggered tooltip, checklist reminder | Return-to-flow rate | Users abandon and return without progress |
FAQ
If you want to build, target, and measure an activation-first user onboarding flow without stitching together multiple systems, Founder OS combines an in-app onboarding tool with product tracking, user profile tracking and segmentation, and reporting so you can see which paths actually move activation and iterate faster.
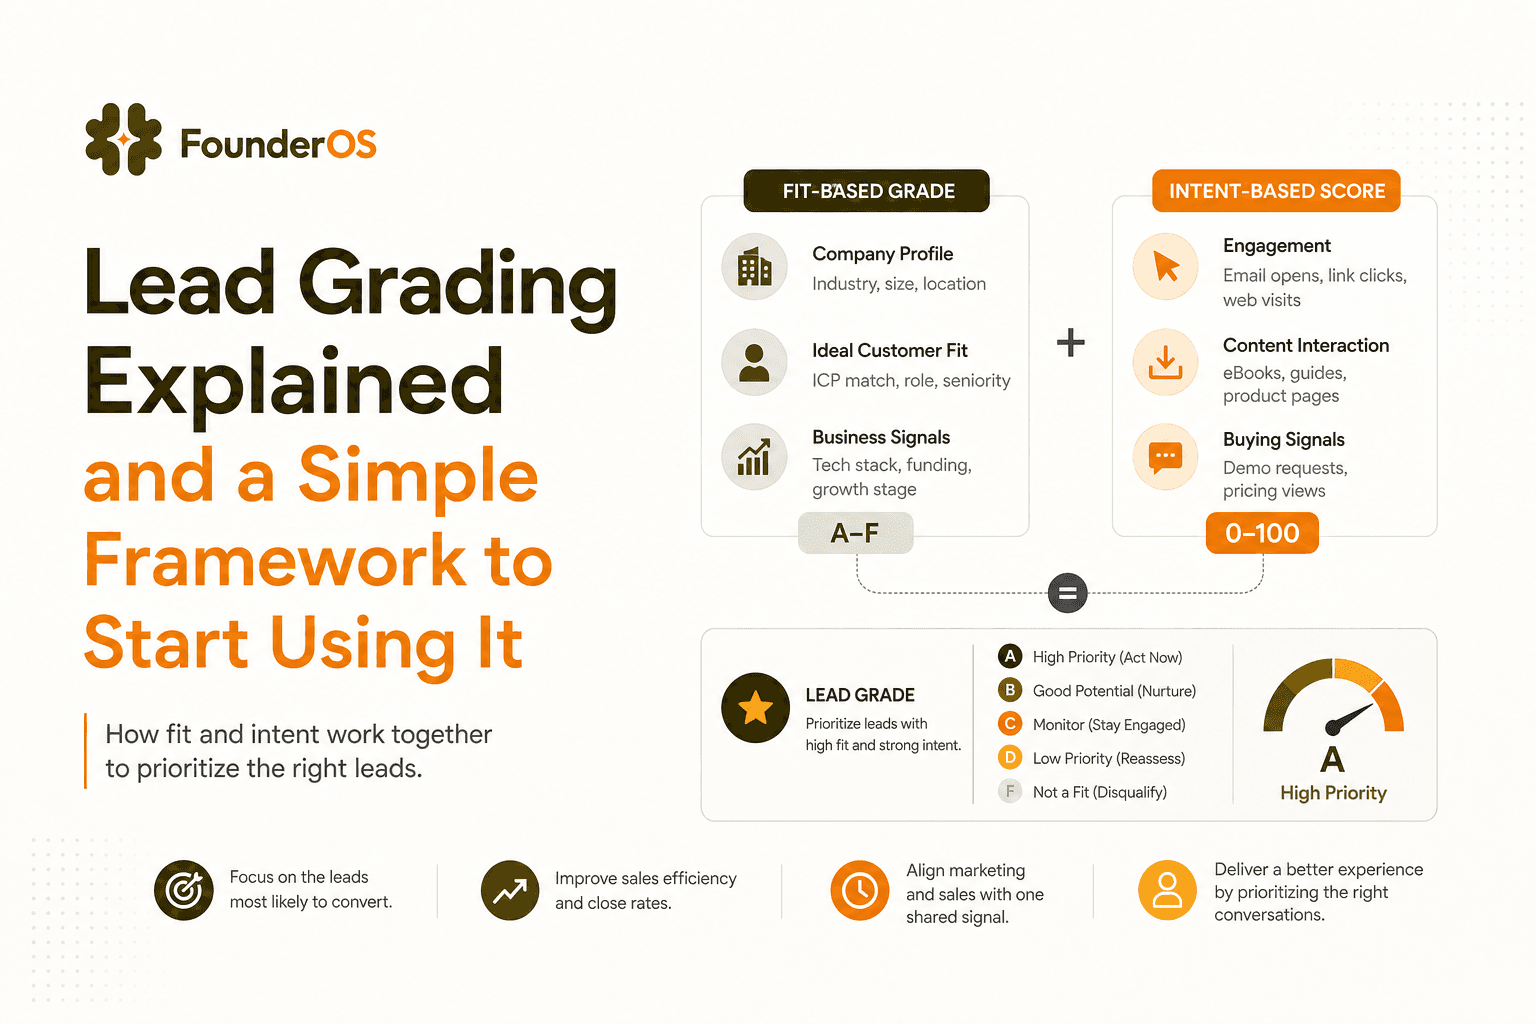
Lead Grading Explained and a Simple Framework to Start Using It
Learn lead grading vs scoring, set grades in an afternoon, and validate they predict pipeline and revenue with simple checks.
Customer Onboarding Process Explained for B2B SaaS Teams
Learn the customer onboarding process from signup to first value, plus a simple framework to reduce friction and improve activation.
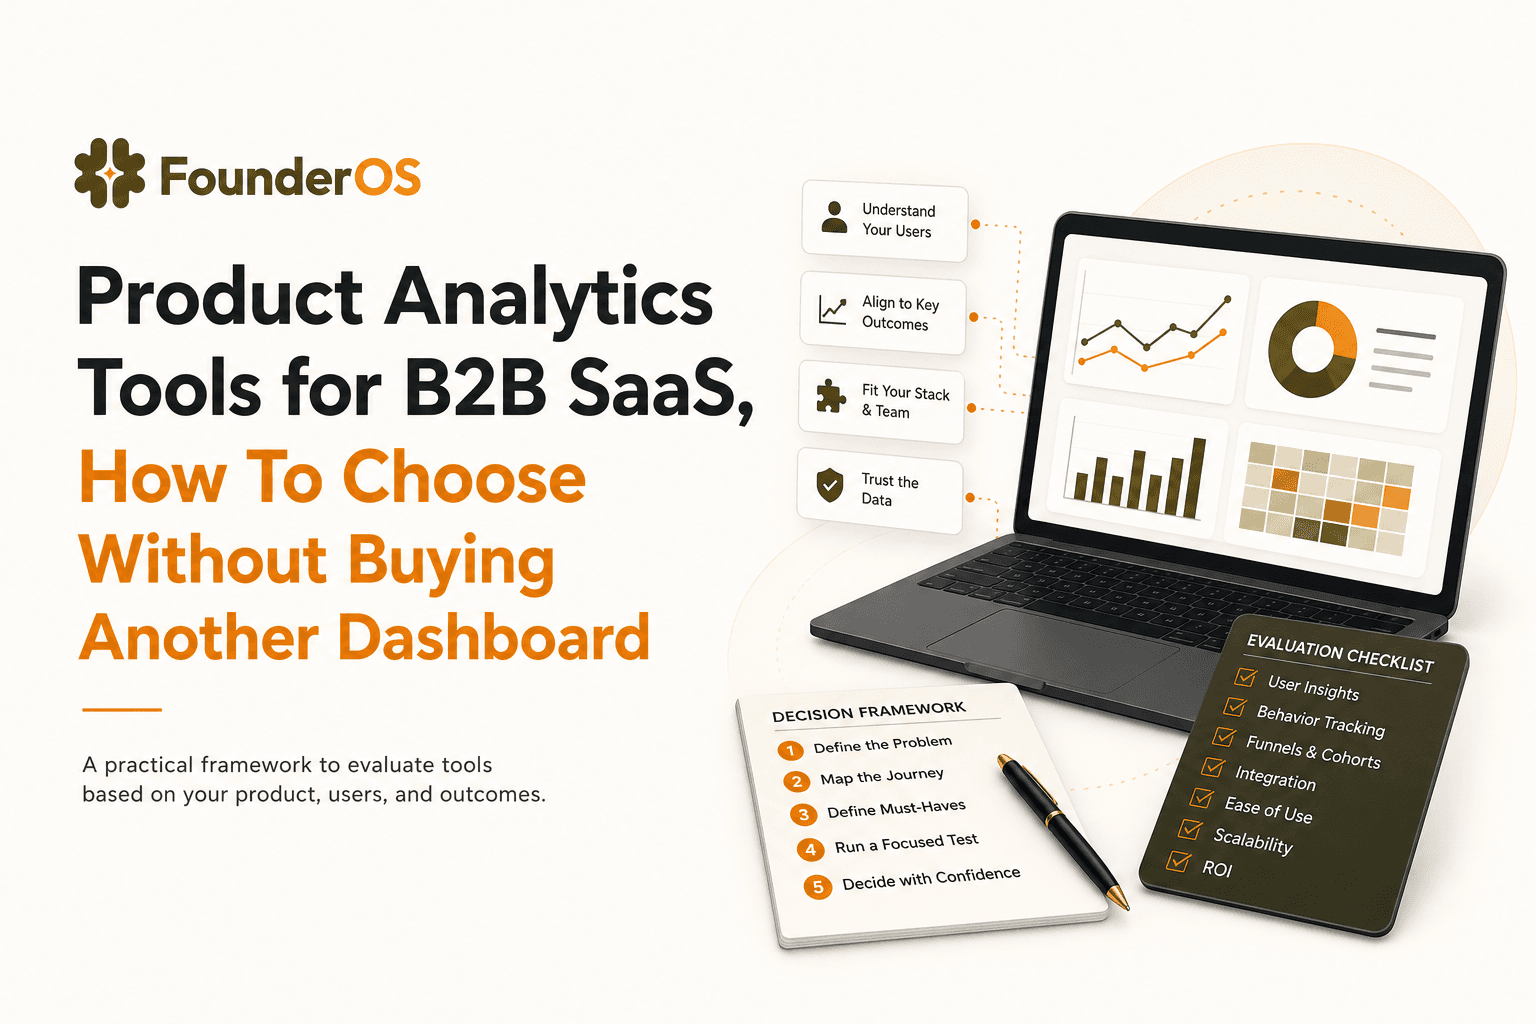
Product Analytics Tools for B2B SaaS, How To Choose Without Buying Another Dashboard
A practical guide to choosing product analytics tools for B2B SaaS: data model, funnels, identity, and revenue insights without dashboard bloat.