
App Onboarding Flow, A 5-Stage Framework Teams Can Actually Ship
An app onboarding flow you can actually ship is a staged sequence from welcome to reinforcement, designed to get a new user to a first measurable win and then keep them moving. The problem is that many teams treat onboarding as a pile of screens instead of a system with stages, decision points, and events, so users get stuck before activation and you cannot diagnose why.
- Use a 5-stage app onboarding flow to separate welcome, setup, permissions, first win, and reinforcement so each step has one job and one metric.
- Design core screens around a single “first win” milestone, then backfill only the minimum setup and permissions needed to reach it.
- Instrument the flow with stage-level events and step-level drop-off so you can iterate weekly with focused A/B tests.
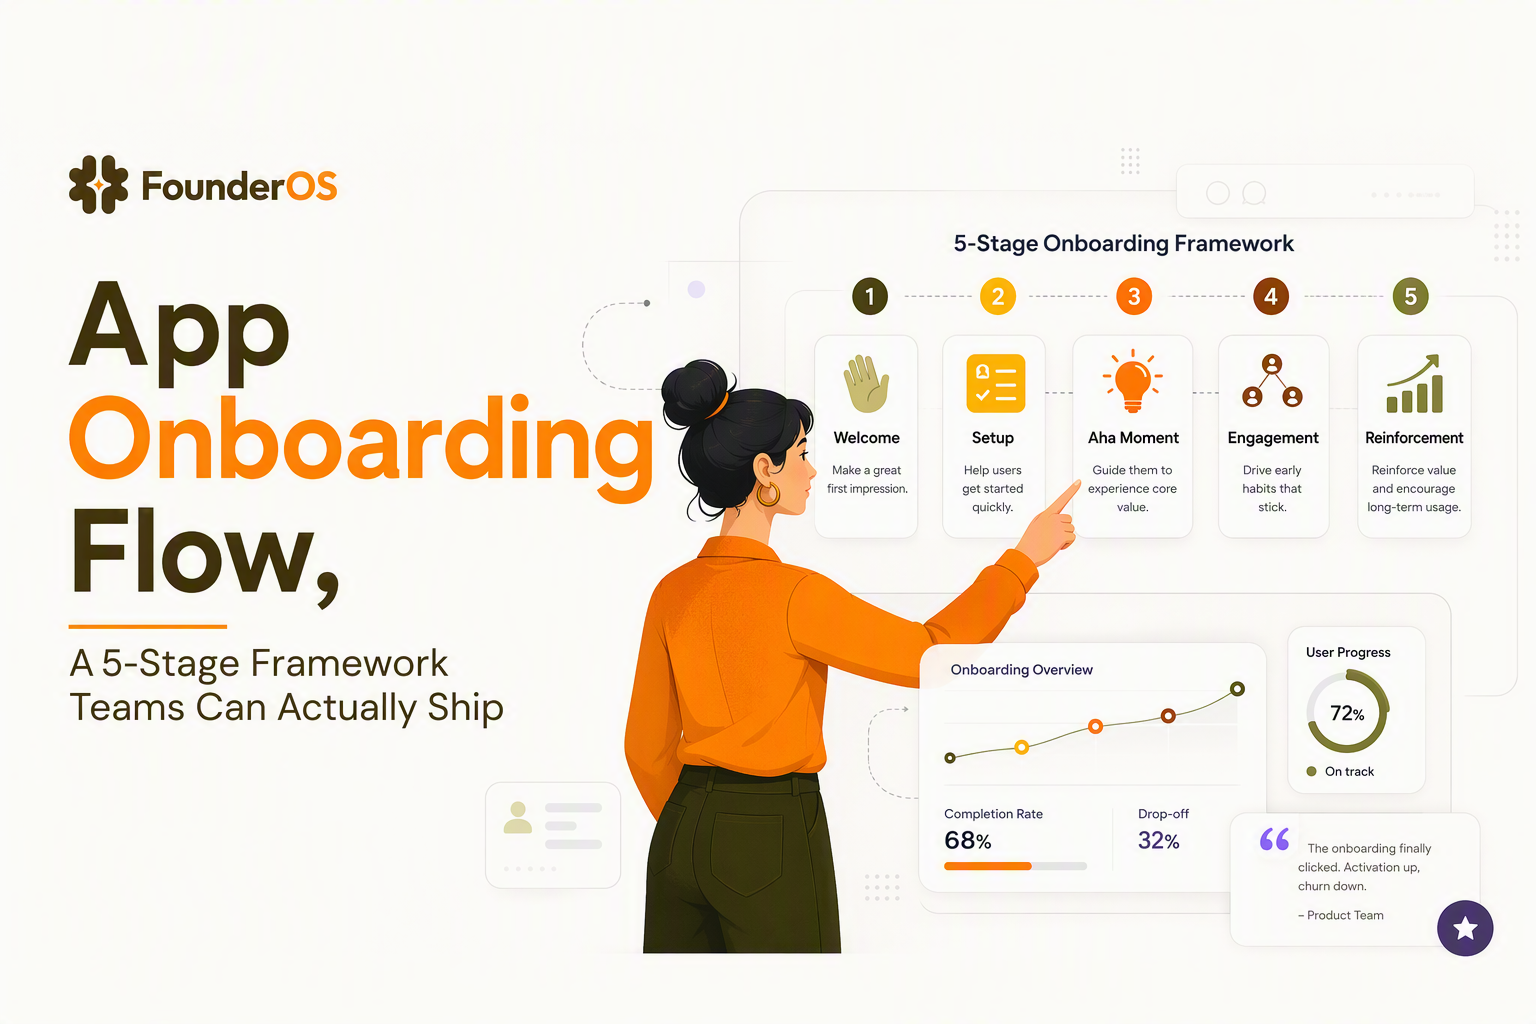
Map the Five Stages of an App Onboarding Flow
A reliable 5-stage app onboarding flow maps each screen to a single outcome so you can build, measure, and iterate without guessing. Below is the model we use to turn “we need onboarding” into a sequence the team can implement and instrument.
Stage 1: Welcome and intent capture
Goal: confirm the product’s promise and capture the user’s intent in one decision. Keep this stage to 1 to 2 screens.
- Welcome screen: one sentence value statement, one primary CTA.
- Use-case or goal selection: 3 to 6 options max (e.g., “Track activation”, “Build reports”, “Invite team”).
Exit criteria: user selects an intent (stored as a user attribute) and reaches the product shell.
Stage 2: Setup and identity
Goal: collect only the minimum data required to personalize the rest of the flow. Over-collecting here is a common reason for early drop-off.
- Account creation: email SSO where possible; defer password creation if you can.
- Workspace basics (B2B): company name, role, team size, or “I’m evaluating solo”.
- Progress indicator: show 2 to 4 steps total so the user knows the path is short.
Exit criteria: user can reach the primary “first win” path without missing required fields.
Stage 3: Permissions and integrations
Goal: request permissions only at the moment they unlock the next step. Asking too early creates “no” decisions before the user sees value.
- OS permissions: notifications, location, camera.
- Product permissions: connect data source, install snippet, invite teammate, grant admin access.
Exit criteria: permission is granted or gracefully skipped with a clear fallback path.
Stage 4: First win and activation
Goal: guide the user to one observable success moment inside the product. This stage should feel like doing real work, not “tutorial time”.
- Guided steps: tooltips, checklists, or a short interactive path.
- Success confirmation: show what changed (data imported, project created, report generated).
Exit criteria: activation event fired (define it explicitly in analytics).
Stage 5: Reinforcement and expansion
Goal: turn a first win into a habit by suggesting the next best action based on role or behavior.
- Next-step recommendations: 2 to 3 actions, not a menu of everything.
- Light education: contextual tips embedded near features, not long tours.
- Feedback capture: one-question survey after a meaningful action.
Exit criteria: user returns to the core loop (repeat usage) or completes a second key action.
Design the Core Screens for Setup, Permissions, and the First Win
The fastest way to ship an app onboarding flow is to design backward from the first win and then add only the screens that remove friction on that path. The blueprint below is intentionally opinionated: it assumes you want fewer steps, clearer triggers, and measurable outcomes.
A buildable screen sequence you can copy
- Welcome + goal selection (intent attribute set)
- Account (SSO or email)
- Minimal profile (role or use case only)
- “Connect X” screen (integration or data import, if required for first win)
- In-context guide (3 to 6 steps max anchored to UI)
- Success screen (what to do next)
Rules that keep setup from bloating
- One required field per screen: if you need three fields, make three screens or re-think what is truly required.
- Defer “nice-to-have” fields: job title, phone, full address, preferences. Capture them after the first win via progressive profiling.
- Always include a skip path for optional permissions and optional integrations, with a reminder later tied to a feature that needs it.
After running onboarding audits for multi-step setups, the pattern was clear: teams that explicitly defined one first-win milestone shipped faster and argued less about what belonged in setup.
Permission prompts that convert better
Permission timing is part UX and part behavior design. Use this decision tree per permission:
- Does the permission unlock the next step? Ask now, and explain the immediate benefit in a single sentence.
- Does the permission improve later outcomes? Defer and ask at the point of need (for example, notifications right after the user schedules a task).
- Is there a functional fallback? If yes, offer “Not now” and keep the user moving.
Activation milestones and microcopy checklist
To prevent the “tour completed but user still confused” problem, tie every guided step to an action the user performs. Use this microcopy checklist on each step:
- Instruction: what to click or enter (verb-first).
- Reason: why it matters now (one clause).
- Outcome: what success looks like (“You’ll see your first report populate”).
If you also need a broader structure around messaging and education, this app onboarding framework pairs well with the stage model above.
Adapt the Flow for iPhone, Android, and B2B Multi-Role Apps
Platform conventions and multi-role complexity change how an app onboarding flow should branch, especially around permissions, navigation, and personalization. The goal is not to make different onboarding for each platform, but to keep the user’s mental model intact while respecting OS patterns.
iPhone vs Android patterns that matter in onboarding
- Permission expectations: iOS users are more sensitive to early prompts; defer until the user tries a feature that needs it. Android offers more flexibility, but the same “ask at need” principle still reduces denial rates.
- Navigation: bottom tabs vs hamburger menus change where you anchor tooltips. Anchor help to stable elements (tab icons, primary CTAs) rather than transient screens.
- Back behavior: Android back navigation can skip steps if you rely on modal stacks; ensure critical steps persist in a checklist or task list state.
Role-based onboarding for B2B and multi-role products
Multi-role onboarding fails when you show everyone the same “generic tour” of features that only one role cares about. Instead, branch in Stage 1 or Stage 2 with one role question and then change the first-win path.
- Role question: “What describes you best?” (Admin, Operator, Analyst, Executive). Store as an attribute.
- First win per role:
- Admin: invite one teammate or connect a data source
- Operator: complete a first task successfully
- Analyst: build or view a first report/dashboard
- Executive: see a high-level metric snapshot fast
- Different reinforcement: Admin gets governance and settings tips; Analyst gets templates and saved views; Operator gets shortcuts.
We initially assumed role branching would double our onboarding work, but in our experience it reduced total steps because we stopped explaining irrelevant features to the wrong people.
For deeper examples by vertical and how different industries reach first value, see app onboarding process by industry.
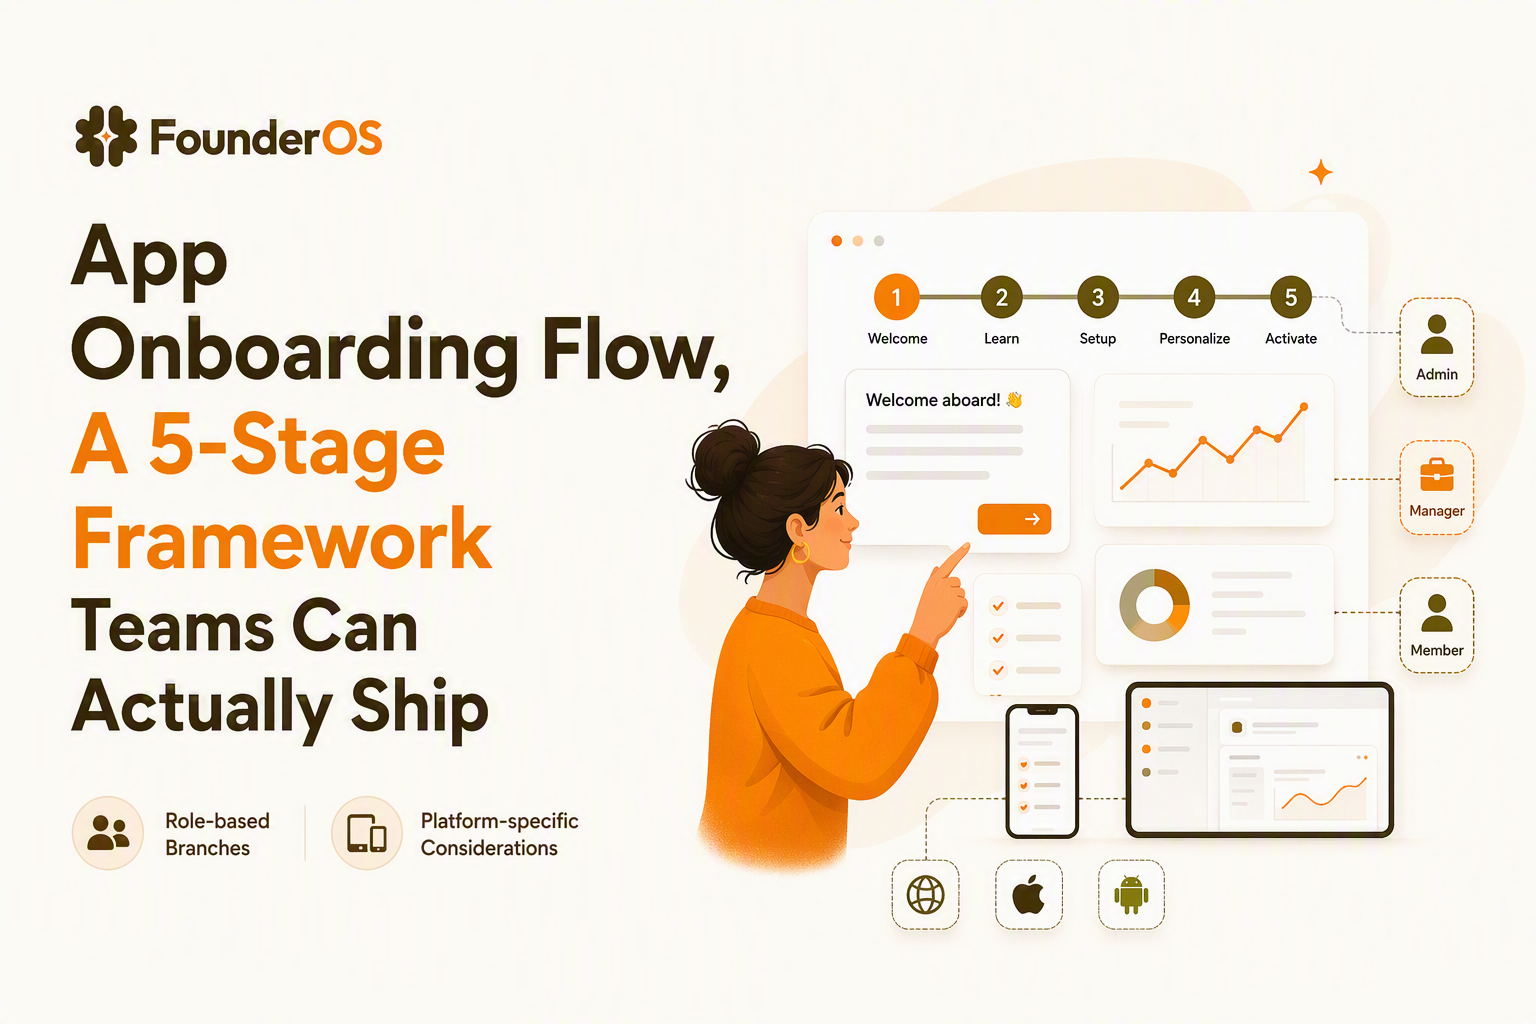
Measure Drop-Off, Activation, and Iterations With Real Events
Measurement turns an app onboarding flow from a one-time project into a weekly improvement loop, because you can see exactly where users stall and which changes move activation. The key is to track both stage transitions and step-level interactions.
The minimum event schema to instrument this week
- onboarding_stage_viewed (properties: stage_name, platform, role)
- onboarding_stage_completed (properties: stage_name)
- onboarding_step_interacted (properties: step_id, action_type: next/skip/close)
- activation_event (your product’s first win, properties: path_variant, role)
- time_to_first_win (derived metric: first_seen to activation_event)
KPIs that diagnose the right problems
- Stage conversion rate: completed(stage N) divided by viewed(stage N). Use it to find the “leak”.
- Step drop-off: closes or skips per step. Use it to rewrite microcopy or reorder steps.
- Activation rate: activation_event within a time window (define window based on your typical sales cycle and product complexity).
- Time-to-first-win: median time is often more useful than average because of long tails.
A/B testing rules that keep experiments clean
- Test one variable: copy, order, number of steps, or trigger timing. Do not mix.
- Run tests per segment: at least platform and role, because a “winner” in one segment can be neutral in another.
- Watch for fake wins: higher tour completion can be meaningless if activation does not change.
When we tested “ask permission at need” versus “ask on first launch” for a critical prompt, the main lift was not in completion but in fewer abandonments on the next screen because users felt in control.
A lightweight iteration checklist
- Define the activation event in one sentence and align product, growth, and support on it.
- Map every onboarding screen to one of the five stages and delete screens that do not serve a stage goal.
- Instrument stage viewed/completed and step interacted events before you redesign UI.
- Ship one change per week and review results by platform and role.
If you are building the in-product guidance component, a guided product tour can be the fastest way to move users through Stage 4 while keeping the UI intact.
| Stage | Primary goal | Typical screens | What to measure |
|---|---|---|---|
| 1. Welcome | Set intent | Welcome, goal selection | Goal selection rate |
| 2. Setup | Enable personalization | Account, minimal profile, progress | Setup completion rate, time spent |
| 3. Permissions | Unlock required capability | OS prompts, integration connect | Grant rate, skip rate, downstream activation |
| 4. First win | Reach activation | Tooltips, checklist, success screen | Activation rate, time-to-first-win, step drop-off |
| 5. Reinforcement | Drive next action | Next steps, tips, survey | Second key action rate, retention proxy events |
FAQ
If you want a no-code way to build the framework quickly and then optimize it with instrumentation, Founder OS combines an onboarding builder with product tracking, segmentation, and reporting so you can ship an app onboarding flow, target it by role or behavior, and measure activation without waiting on engineering.

User Onboarding SaaS Explained, A Reusable Blueprint and Checklist
Learn user onboarding saas with a practical blueprint: stages, UI patterns, checklist, and a simple measurement plan to improve activation.
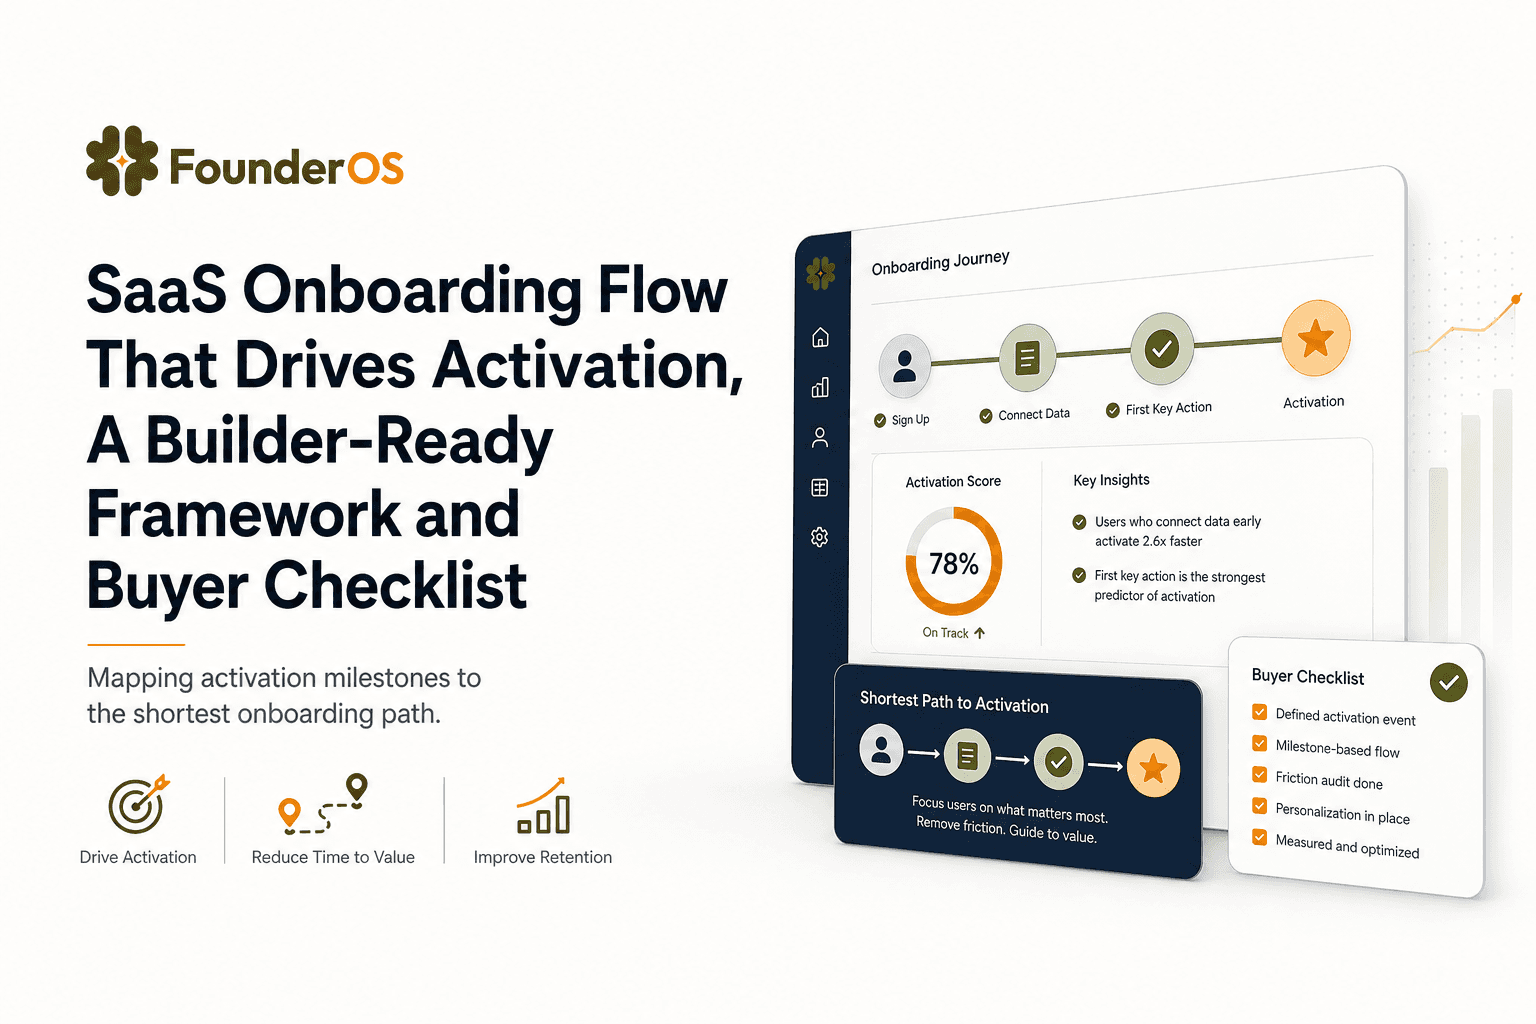
SaaS Onboarding Flow That Drives Activation, A Builder-Ready Framework and Buyer Checklist
Build a saas onboarding flow that drives activation with segments, triggers, tracking, and a buyer checklist for no-code flow builders.

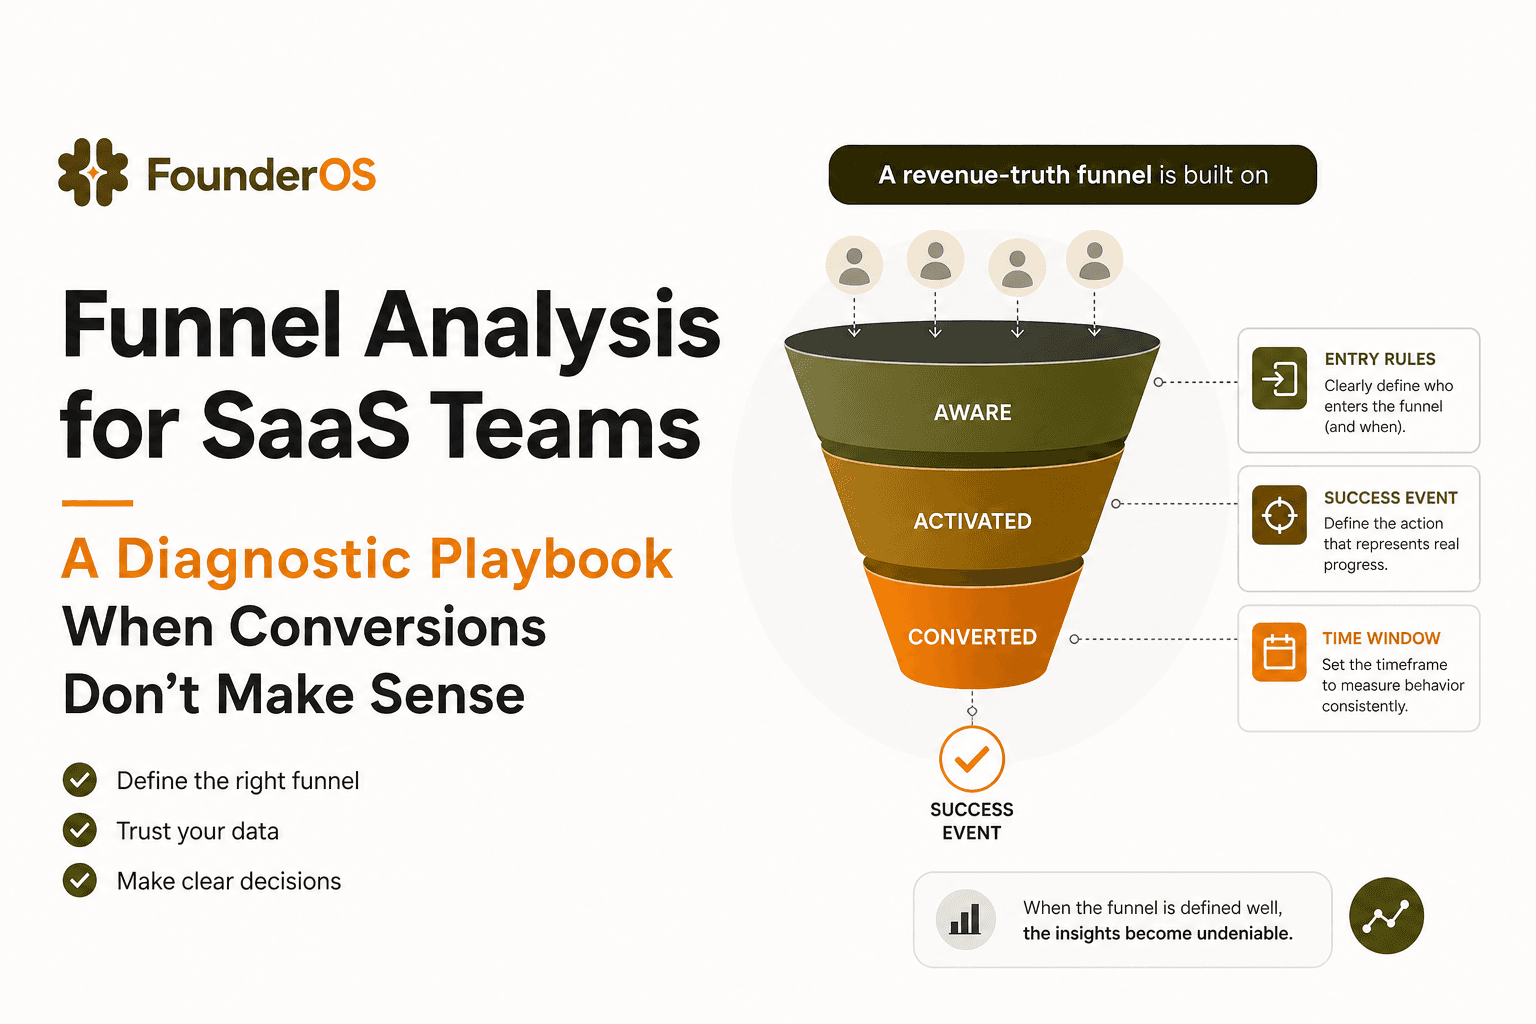
Funnel Analysis for SaaS Teams - A Diagnostic Playbook When Conversions Don’t Make Sense
A practical funnel analysis playbook to diagnose tracking and measurement errors, then turn drop-offs into experiments you can attribute to revenue.