
App Onboarding Explained, The 5 C’s Framework and a Copyable Template
App onboarding is the in-product experience that gets a new user from “I signed up” to “I got value” as quickly and confidently as possible. If your onboarding is just a tour of UI, you will often see the same pattern: users click around, miss the first win, and churn before they ever build a habit.
- Define app onboarding by the “first win” and activation event, not by how many steps your tour has.
- Use the 5 C’s (Clarity, Context, Control, Confidence, Continuity) to choose the right UI patterns for each moment.
- Track a simple onboarding funnel with events and drop-off by step, then iterate weekly with one hypothesis at a time.
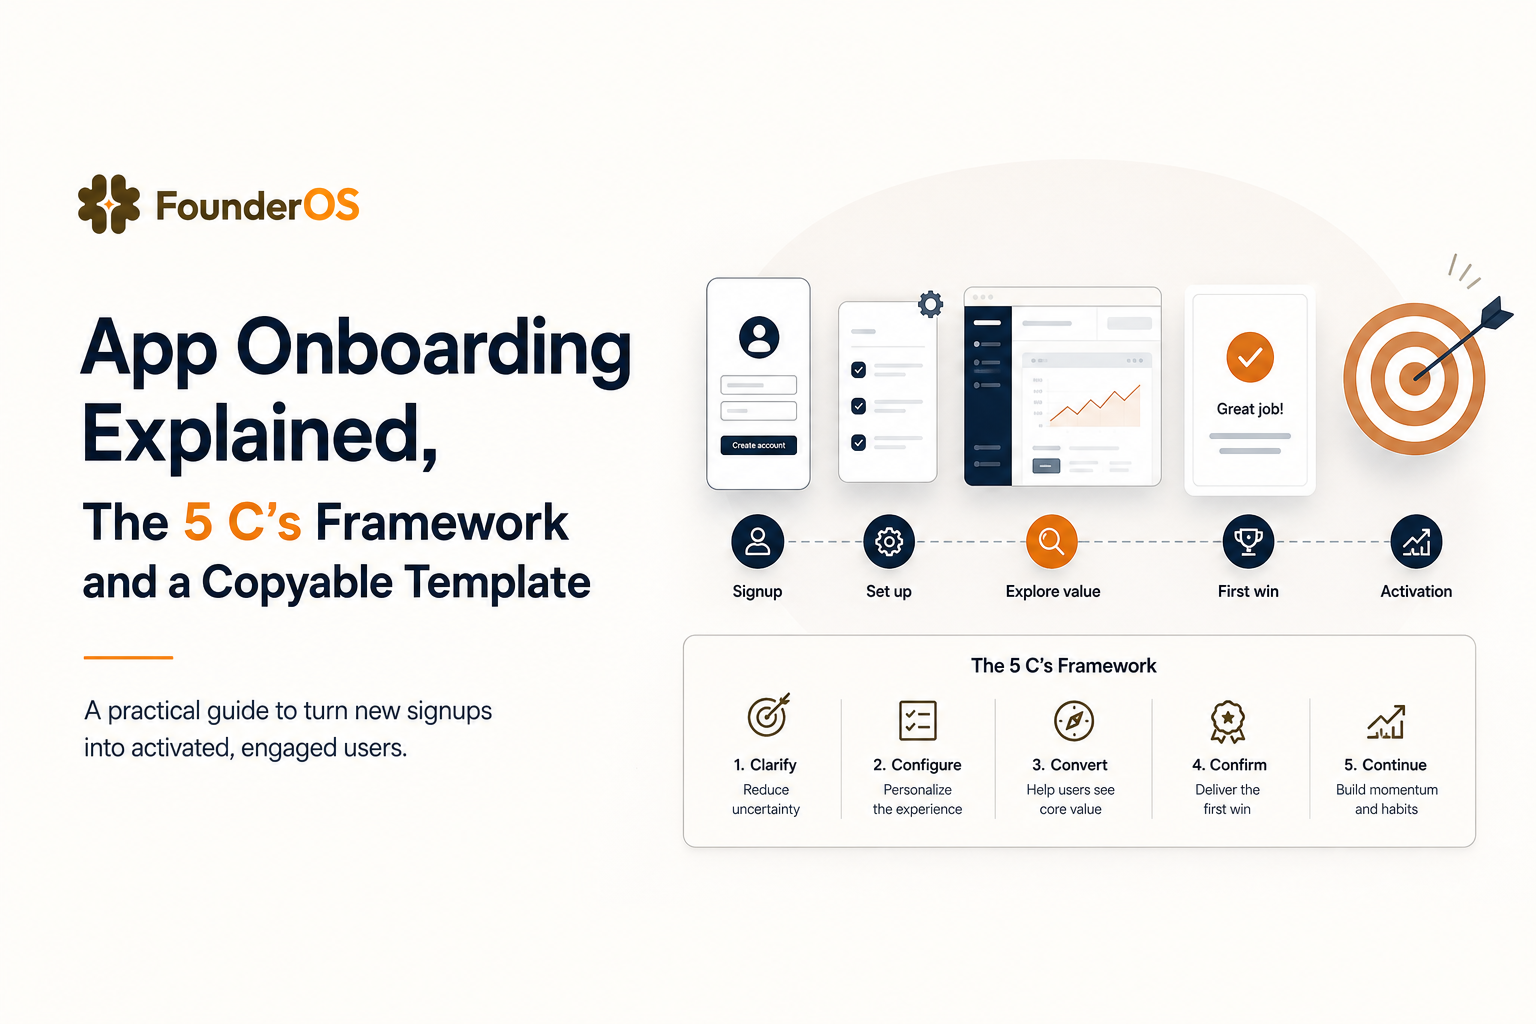
App onboarding basics, goals, and where it fits
Onboarding vs signup vs setup
Most teams accidentally bundle three different jobs into one flow:
- Signup = account creation (email, SSO, password, verification).
- Setup = connecting prerequisites (permissions, integrations, importing data, inviting teammates).
- App onboarding = guiding the user to a first win and then toward activation, using in-product guidance, prompts, and progressive disclosure.
A practical rule: if a step does not directly reduce time-to-value or increase the chance of a first win, it probably does not belong in the critical path. Keep signup short, move setup later where possible, and make onboarding about outcomes.
Define “first win” and “activation” before you design screens
First win is the earliest moment a user experiences value. It should be achievable in minutes, not days. Activation is the set of behaviors that predict retention for your product, usually achieved after the first win.
Here are concrete examples you can copy and adapt:
- Project management: first win = create a project + add 1 task; activation = invite a teammate + complete 1 task.
- Analytics: first win = see first tracked event in a dashboard; activation = build 1 report and return within 48 hours.
- CRM: first win = import 10 contacts; activation = log 1 activity + create 1 pipeline stage.
Success criteria you can measure (not vibes)
Before you touch UI, pick 3 success metrics and write them down in plain language. A lightweight set that works for most SaaS:
- Time-to-first-win (median minutes from signup to first win event)
- Activation rate (% of new users who complete activation within X days)
- Onboarding completion rate (% who reach the “end” of your intended flow, if you have one)
Completion is not the goal, but it is a diagnostic. If completion is high and activation is low, your flow is entertaining but not effective. If completion is low and activation is high, your flow may be optional and that can be fine.
The 5 C’s of app onboarding applied to real screens and UI components
C1: Clarity, users should know what to do next
Clarity is about reducing cognitive load. Every onboarding screen should answer: “What is the next action, and why should I do it?” Use these UI patterns when clarity is the problem:
- Single primary CTA per screen (avoid equal-weight buttons).
- Progress indicator only if steps are truly required (3 to 5 steps is a sweet spot).
- Inline examples inside empty states (pre-filled text, sample data).
Checklist for clarity:
- Action verb in the CTA (Create, Connect, Import, Invite).
- One sentence of “why this matters” under the header.
- Remove optional fields from the first pass.
C2: Context, show the right message to the right user
Context means your onboarding adapts to intent. A founder evaluating your product and an operator implementing it should not see the same prompts in the same order.
Use contextual patterns like:
- Role selection (I’m a founder, I’m in marketing, I’m in product).
- Use-case selection (track activation, reduce churn, onboard teams).
- Conditional steps based on what the user has already done.
In our experience working with early-stage B2B SaaS teams, the fastest onboarding wins come from segmenting by just 1 to 2 attributes, then branching the flow. More than that often becomes hard to maintain and easy to mis-target.
C3: Control, let users skip without getting lost
Control is how you avoid the “trapped in a tour” feeling. Users want to explore, especially power users. Give them control without sacrificing the path to value:
- Skip button that does not punish the user, but stores state.
- Dismiss for announcements and secondary tips.
- Resume later entry point (for example, a checklist in the dashboard).
Practical rule: if a step can be completed later without breaking the first win, make it skippable. Control reduces rage clicks and support tickets.
C4: Confidence, reduce anxiety before it becomes churn
Confidence is about removing fear: “Will I break something?”, “Is this reversible?”, “Is my data safe?” It shows up in microcopy and permission priming.
- Permission priming: explain why you need access before the system prompt appears (calendar, email, billing).
- Reversibility cues: “You can change this later” and “Undo available”.
- Social proof used sparingly: one line about outcomes, not a wall of logos.
What surprised our team was how often a single sentence like “This won’t email anyone yet” increased completion of an invite step. Users often hesitate because they assume automation will trigger immediately.
C5: Continuity, onboarding should not end at step 5
Continuity means the product keeps guiding users after the initial flow. The best app onboarding feels like a series of small nudges tied to real behavior, not a one-time ceremony.
- Triggered tips after key actions (first dashboard view, first import, first error).
- Contextual tooltips for advanced features only after prerequisites are met.
- Onboarding checklist that updates based on behavior, not time.
If you want a deeper blueprint for moving beyond linear tours, see this guided product tour breakdown and how it ties steps to measurable outcomes.
App onboarding template, a screen-by-screen flow you can copy
Step 0: Decide your activation event and segments
Before screens, write a one-page spec. Copy this:
- Primary persona: __________
- First win event (within 5 to 15 minutes): __________
- Activation event (within 1 to 7 days): __________
- Segments (max 2): Segment A = __________, Segment B = __________
- Non-negotiable prerequisites (must do before first win): __________
Step 1: Welcome modal (set expectation in one sentence)
Goal: orient without explaining everything.
- Header: “Let’s get you to your first [outcome]”
- Body: “In 3 quick steps, you’ll [first win]. You can skip and come back anytime.”
- Primary CTA: “Start”
- Secondary: “Skip for now”
Step 2: Intent capture (1 question only)
Goal: create context for branching.
- Question: “What are you here to do?”
- Options (example): “Track activation”, “Improve onboarding”, “Reduce churn”
- Microcopy: “We’ll tailor your setup. You can change this later.”
Branching logic:
- If user chooses “Track activation” then prioritize data connection screens first.
- If user chooses “Improve onboarding” then prioritize building the first in-app guide first.
Step 3: Prerequisite screen (connect, import, or create)
Goal: unlock the first win with the smallest required input.
- Header: “Connect your [data source]”
- Body: “This lets us show your first dashboard. No changes to your live app.”
- Primary CTA: “Connect”
- Secondary: “Do this later” (only if truly optional)
Confidence microcopy options you can reuse:
- “Read-only access. You can disconnect anytime.”
- “Takes about 2 minutes.”
Step 4: Guided action in the product (tooltip or bubble anchored to UI)
Goal: drive the first win inside the real interface, not in a separate wizard.
- Tooltip text: “Create your first [object] to see [benefit].”
- CTA: “Create [object]”
- Trigger: user lands on /dashboard AND has not completed first win event
If you want to go deeper on when to fire tips, use behavior triggers tied to events, not pageviews.
Step 5: First win confirmation (celebrate, then point to the next habit)
Goal: make the value explicit and set the next step toward activation.
- Header: “Nice, you just [first win].”
- Body: “Next, do [activation precursor] to get [bigger outcome].”
- Primary CTA: “Do next step”
- Secondary: “Explore on my own”
Step 6: Persistent checklist (turn onboarding into continuity)
Goal: keep momentum without forcing a linear tour.
- 3 to 5 items max.
- Each item maps to a measurable event.
- Hide completed items automatically.
Example checklist items:
- Connect data source (event: integration_connected)
- Create first project (event: project_created)
- Invite a teammate (event: teammate_invited)
- Run first report (event: report_created)
For a more adaptive approach, this onboarding checklist guide shows how to tie items to behavior so users never see irrelevant tasks.
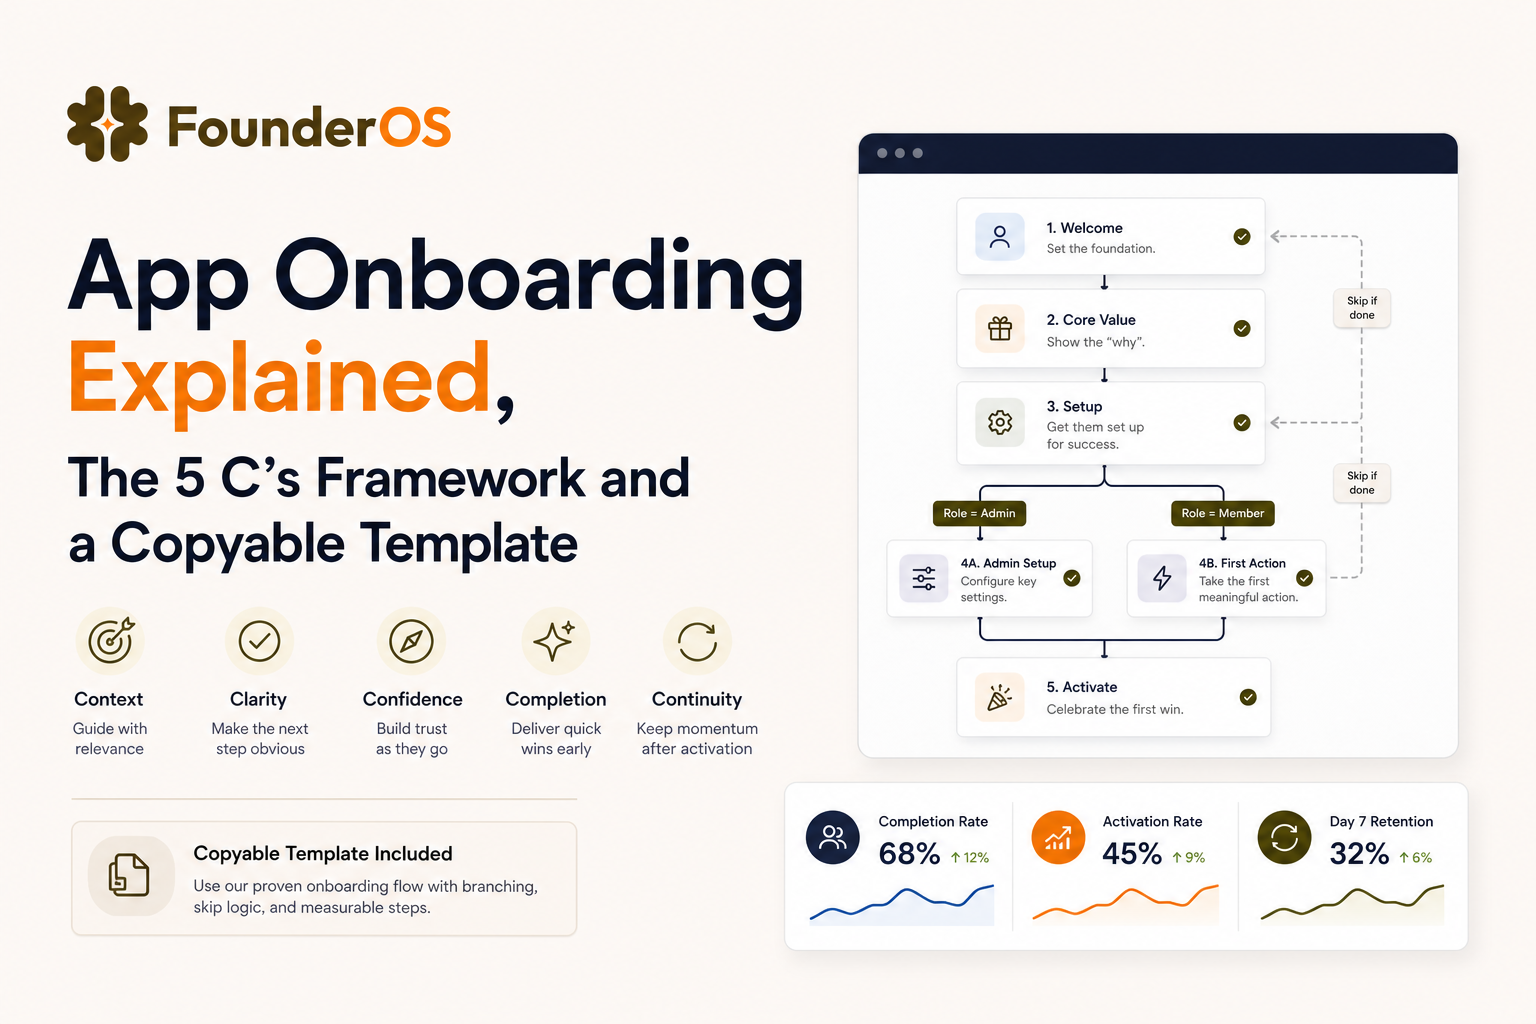
How to measure app onboarding, events to track and a simple KPI funnel
The minimum event taxonomy for onboarding
You do not need 200 events to measure onboarding. Start with a small, consistent set and add only when you have a decision to make.
- signup_completed
- onboarding_started (welcome modal CTA)
- onboarding_step_viewed (include step_id)
- onboarding_step_completed (include step_id)
- first_win_completed (your definition)
- activation_completed (your definition)
- onboarding_skipped (include step_id)
- help_opened or support_clicked (optional but useful)
A simple onboarding KPI funnel you can build today
Use this funnel as your default view, weekly:
- signup_completed
- onboarding_started
- first_win_completed
- activation_completed
Then add a second diagnostic funnel for your guided flow:
- onboarding_step_viewed (step 1)
- onboarding_step_completed (step 1)
- onboarding_step_completed (step 2)
- ...
After running onboarding audits across multiple products, the pattern was clear: the biggest drop-offs usually happen at the first “commitment” step (connecting data, inviting teammates, granting permissions). That is where you should test confidence copy, optionality, and alternative paths.
Activation definitions by app type (starter benchmarks)
Activation must reflect your product’s value loop. Use these as starting points and validate with retention:
- Collaboration tools: activation = invite 1 teammate + both perform 1 key action within 7 days.
- Data products: activation = connect source + view dashboard twice within 3 days.
- Developer tools: activation = complete “hello world” and make 1 successful API call.
- Marketplace: activation = complete first transaction action (listing created or first purchase intent).
If you want a structured way to tailor your app onboarding process by industry, map first win and activation to the user’s job-to-be-done, then choose the smallest proof of value.
Iteration cadence and experiment design
Run onboarding iterations on a weekly cadence. Keep it boring and consistent:
- Week 1: pick the biggest drop-off step, write 1 hypothesis, ship 1 change.
- Week 2: evaluate impact on time-to-first-win and activation rate, not just completion.
- Week 3: keep the winner, remove the loser, and move to the next bottleneck.
For statistical sanity, avoid changing multiple steps at once unless traffic is high. If traffic is low, prefer qualitative signals too: session replays, support tags, and a single in-product survey after first win.
Helpful standards and references: for activation and retention measurement concepts, Amplitude’s guides are a solid starting point here.
| Onboarding problem | Likely cause | Best fix | Metric to watch |
|---|---|---|---|
| High onboarding completion, low activation | Steps do not lead to first win | Redefine first win, rebuild checklist around value events | Activation rate, time-to-first-win |
| Drop-off at permission/integration step | Low confidence, unclear why | Permission priming, reversible copy, alternate path | Step completion rate for that step |
| Users skip tour and never return | No continuity mechanism | Persistent checklist + triggered nudges based on behavior | Return rate within 48 hours |
| Support tickets from new users | Missing contextual help at the moment of confusion | Tooltips on error states, inline examples, micro-survey | Support clicks, ticket volume by cohort |
FAQ
If you want to implement these app onboarding patterns quickly without engineering bottlenecks, Founder OS includes a no-code flow builder for interactive tours plus analytics to track step drop-off and activation impact, so you can iterate from real user behavior instead of assumptions.
Written by Ivy Tran
Founder of FounderOS, sharing practical insights on SaaS growth, product analytics, and user activation.
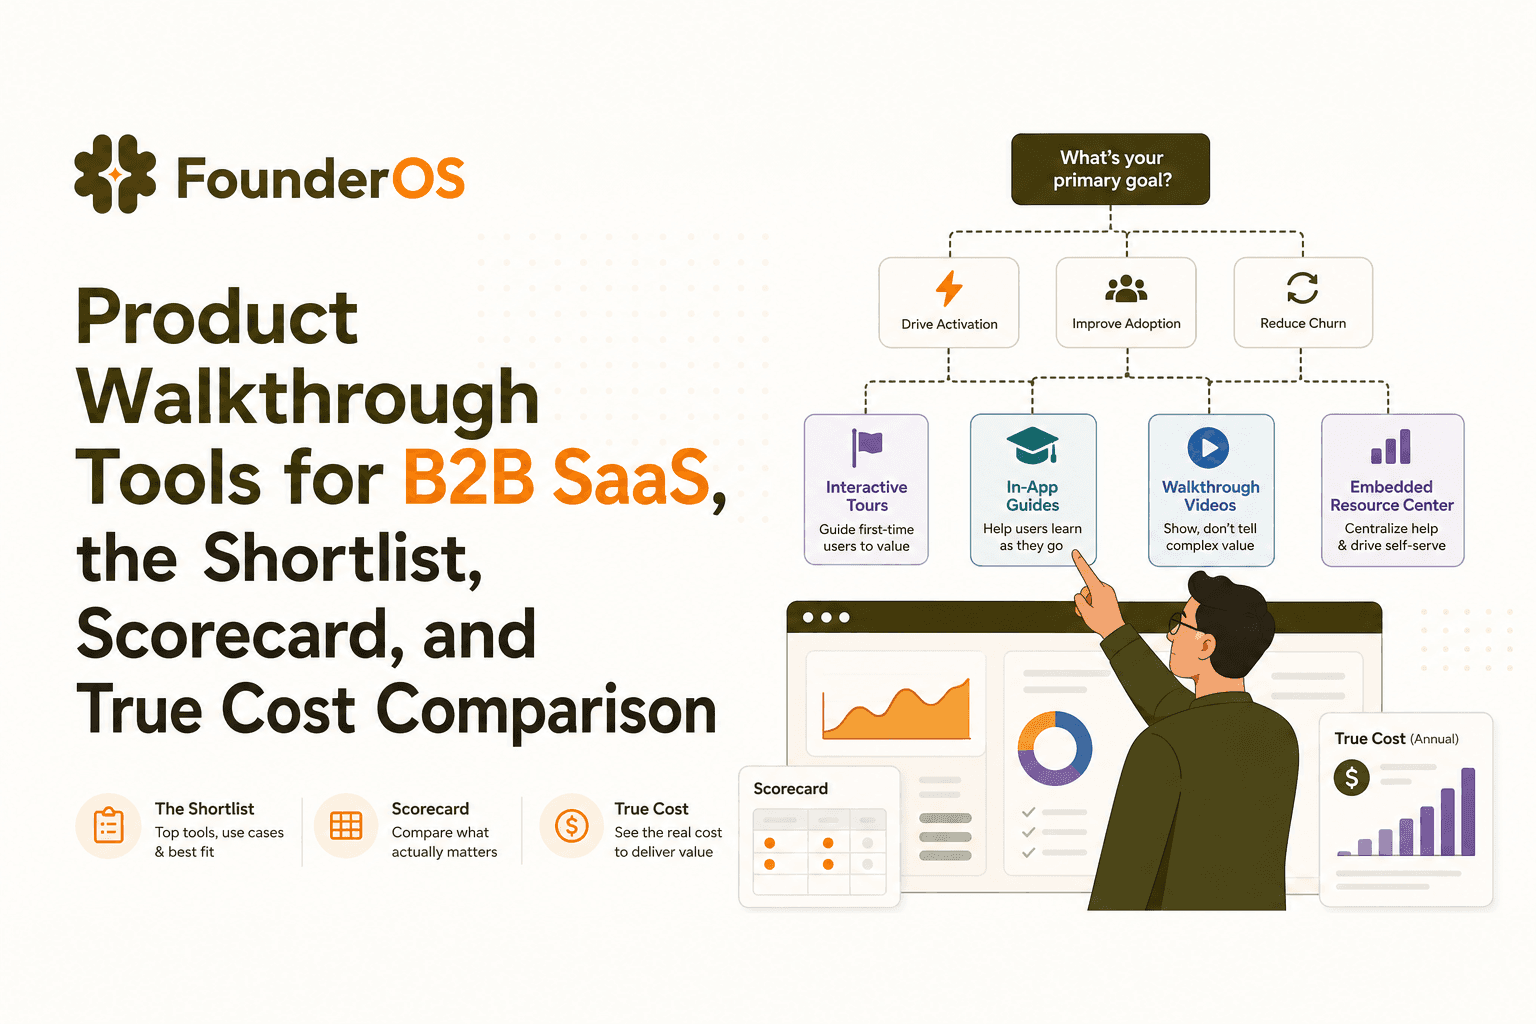
Product Walkthrough Tools for B2B SaaS, the Shortlist, Scorecard, and True Cost Comparison
Compare product walkthrough tools for B2B SaaS with a shortlist, success scorecard, and true cost scenarios for 2k, 10k, and 50k users.

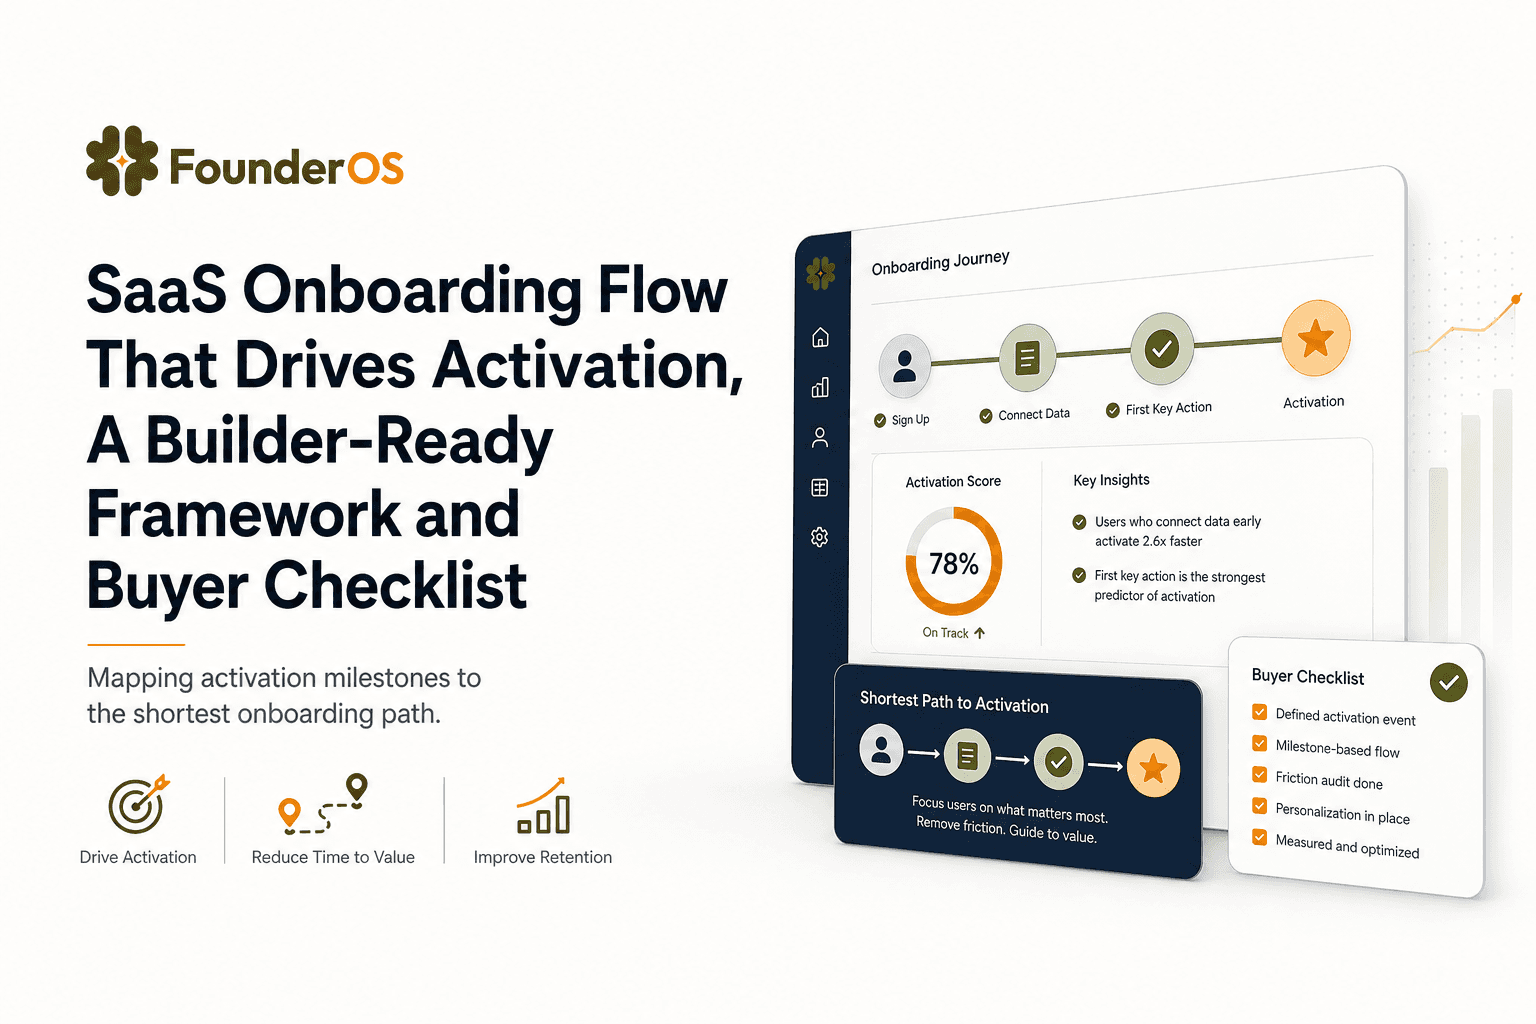
SaaS Onboarding Flow That Drives Activation, A Builder-Ready Framework and Buyer Checklist
Build a saas onboarding flow that drives activation with segments, triggers, tracking, and a buyer checklist for no-code flow builders.

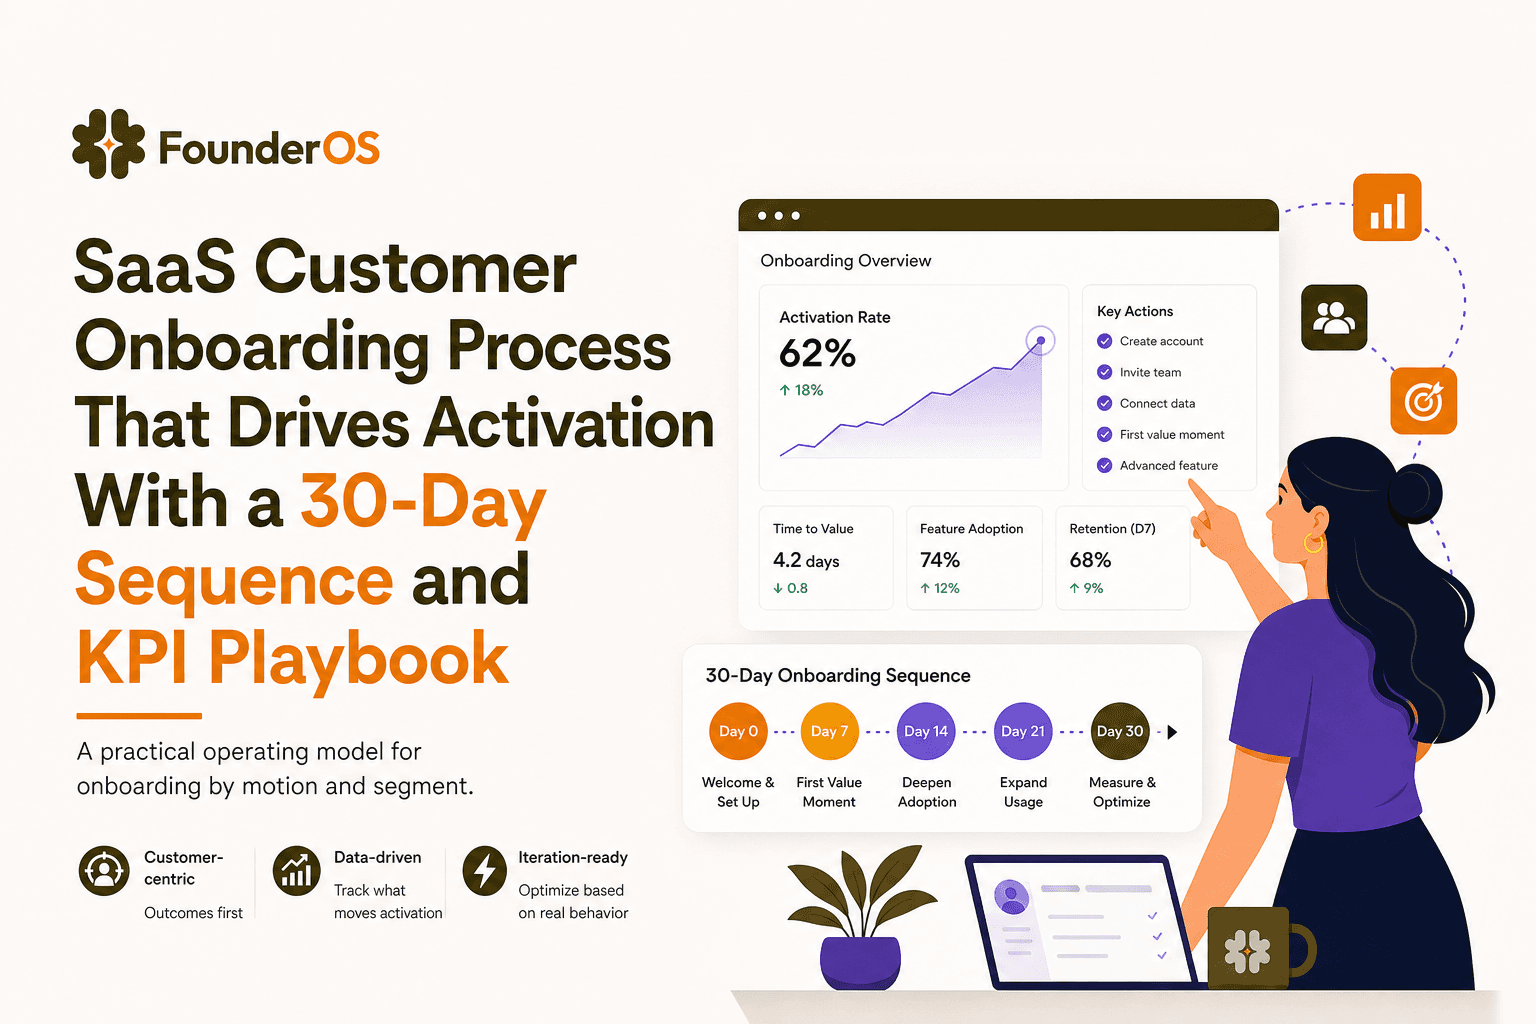
SaaS Customer Onboarding Process That Drives Activation With a 30-Day Sequence and KPI Playbook
Build a saas customer onboarding process with a 30-day sequence, triggers, RACI ownership, and KPI formulas to reach activation faster.
