
Flow Builder for SaaS Onboarding - The Activation-First Blueprint to Build and Measure Flows
Use a flow builder to design onboarding that drives activation, with triggers, segmentation, guardrails, and measurement that proves lift.
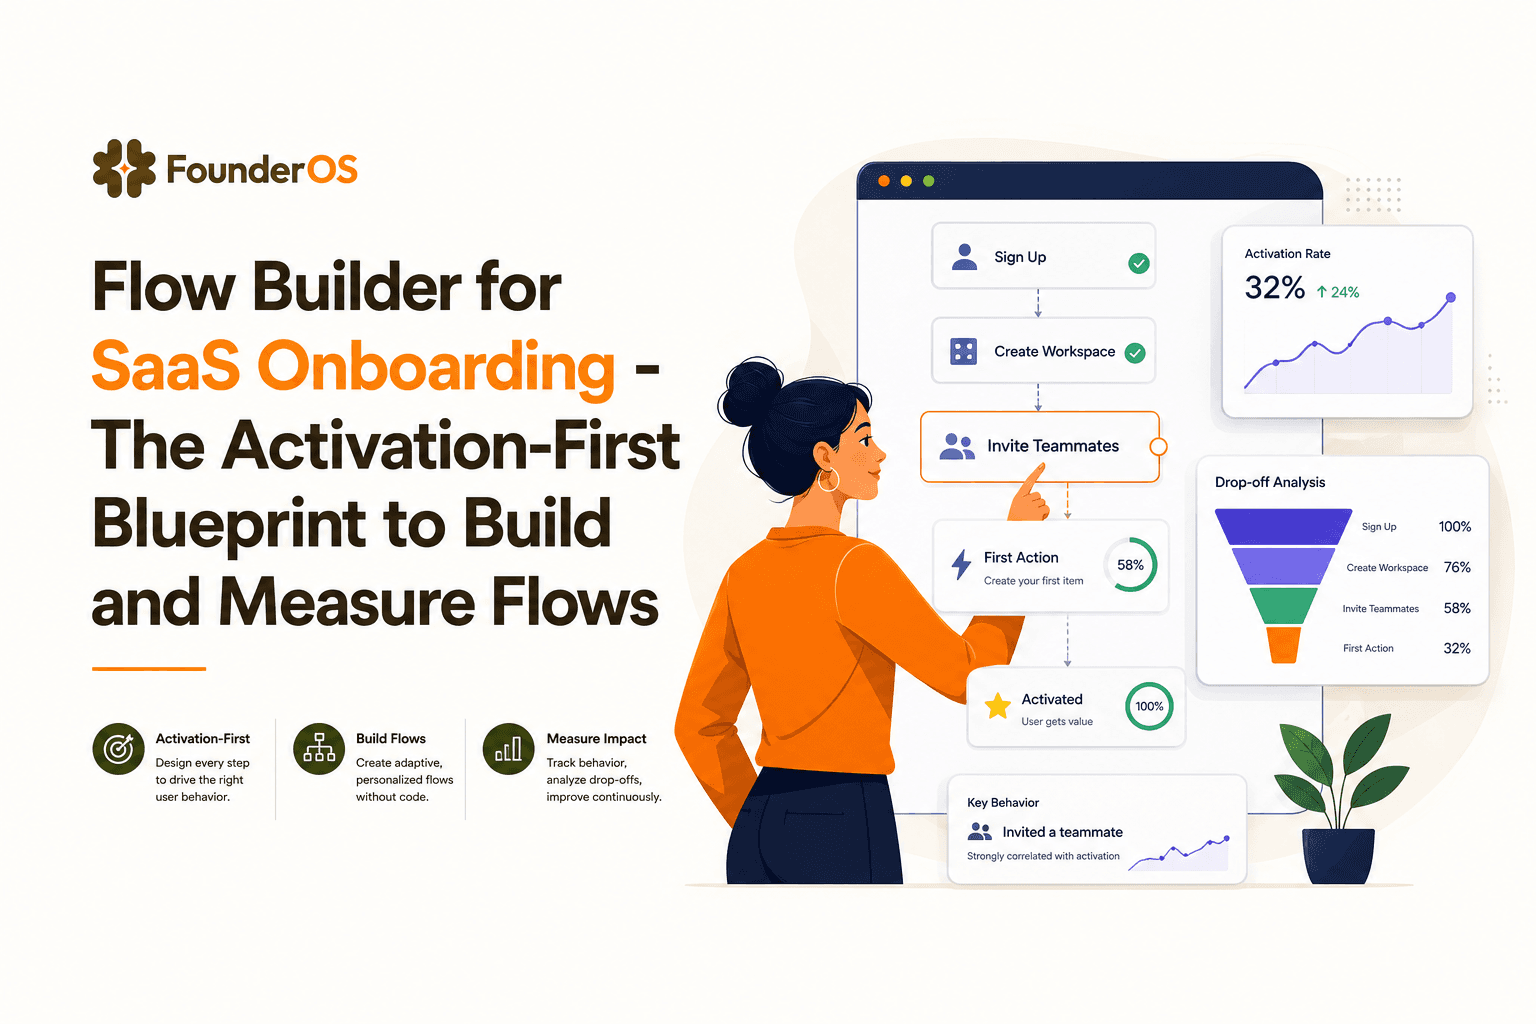
A flow builder can ship beautiful product tours fast, but if it is not designed around activation, you will optimize for clicks instead of outcomes. This blueprint shows how to define the one behavior your onboarding must create, then build the right triggers, branching, and measurement so your in-app flows move activation KPIs, not just completion rate.
- Start by translating “activation” into one observable in-app behavior per segment, then build the flow to create that behavior.
- Scalable flow builder architecture needs triggers, branching, segmentation, and guardrails to prevent noisy, conflicting experiences.
- Measure impact with an event taxonomy, cohorts, and holdouts so you can attribute activation lift, not just tour completion.
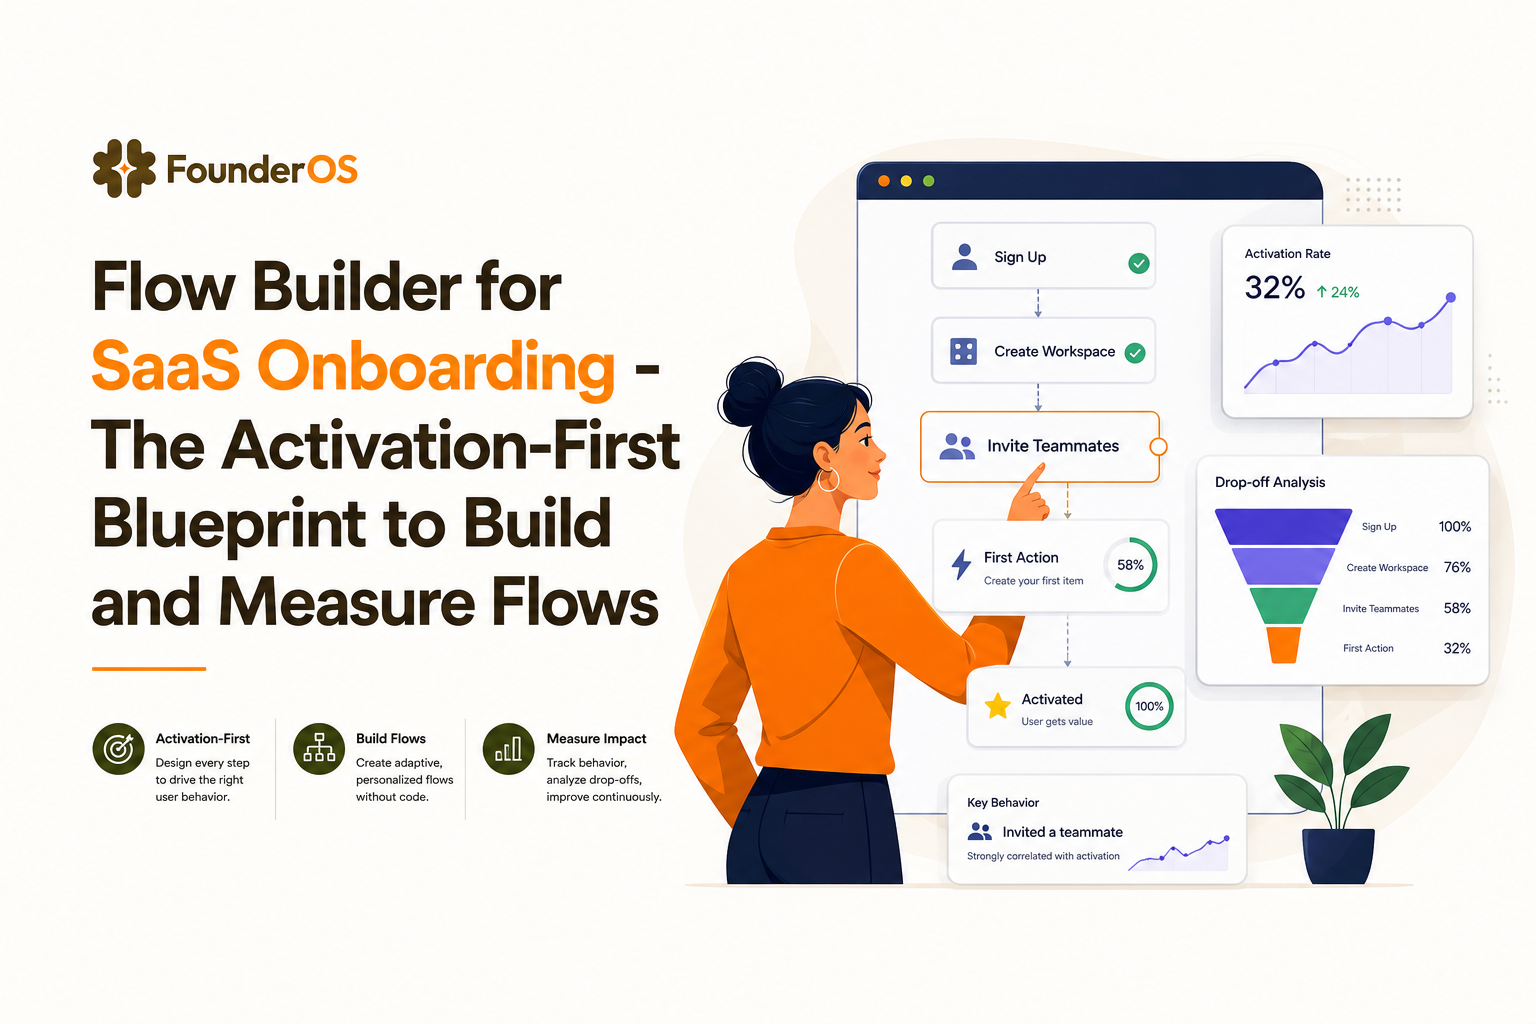
Start With Activation, Not Screens - Define the One Behavior Your Flow Must Create
The most common onboarding failure mode is “screen-first design”: teams map UI pages into steps and call it onboarding. The result is usually high completion, low activation, and a support inbox full of “I finished the tour but I still don’t get it.” An activation-first flow builder setup starts from behavior, not screens.
Step 1: Convert activation into a single observable behavior
Pick one behavior that proves a user got real value. It must be (1) observable in-product, (2) achievable within a short window (often first session or first 7 days), and (3) strongly correlated with retention or expansion.
- Bad: “User understands dashboards.”
- Good: “User creates their first dashboard with 1 saved filter.”
Step 2: Define success metrics that match the behavior
Use a primary metric and two supporting metrics so the flow does not game the outcome.
- Primary: Activation rate = % of new users who complete the activation behavior within X days
- Supporting: Time-to-value (median time to activation), and downstream retention proxy (e.g., week-2 return rate)
Step 3: Segment before you design
Activation behaviors differ by persona. A flow builder that targets “all new users” with one path usually underperforms because it forces compromises. Start with 2 to 4 segments maximum, defined by attributes you can reliably capture at signup or first session.
- Role-based: Admin vs member
- Use-case: Reporting vs automation
- Motion-based: Self-serve trial vs sales-assisted onboarding
Activation definition worksheet (copy/paste)
| Segment | Activation behavior (observable) | Time window | Primary metric | Supporting metrics |
|---|---|---|---|---|
| Admins | Invite 1 teammate + complete setup step | 0 to 7 days | % activated | Median time-to-activation, week-2 return |
| Members | Complete first task in shared workspace | 0 to 3 days | % activated | Drop-off by step, feature adoption |
Flow Builder Architecture That Scales - Triggers, Branching, Segments, and Guardrails
Once you know the activation behavior, architecture becomes the difference between “a tour” and “a system.” A scalable flow builder setup is a set of reusable rules: how flows start, how they branch, how they stop, and how they avoid colliding with other in-app messages.
The core building blocks (and what to verify)
- Triggers: URL, element visibility, event-based triggers, and time-based triggers.
- Targeting: user attributes, segments, and cohort membership.
- Branching: if/then logic based on events, properties, or prior completion.
- Frequency control: caps per user, cooldown windows, and “do not show again” rules.
- Exit conditions: stop a flow immediately when the activation behavior is completed.
Guardrails to prevent noisy onboarding
In our experience working with early-stage B2B SaaS teams, the fastest way to tank onboarding is to run multiple flows without a governance layer. Use these guardrails so users do not get spammed or stuck in loops.
- One primary flow per segment: everything else becomes contextual tooltips or optional help.
- Priority rules: “Activation flow beats announcements” and “blocking modals are last resort.”
- Mutual exclusion: do not allow two flows to run on the same page load.
- Cooldowns: if a user dismisses twice, pause for 7 to 14 days.
A practical branching pattern that works
Use a three-branch structure so the flow adapts to what the user actually did:
- Happy path: user completes the next action, show the next step.
- Skipped path: user ignores the CTA, offer a smaller next step or a checklist item.
- Blocked path: user cannot proceed (permissions, missing data), route to the unblocker.
This is where behavior triggers matter most: you are not just showing steps, you are reacting to real events.
How this maps to onboarding formats
A flow builder should let you mix formats without rebuilding logic. A common pattern is: start with a lightweight tooltip, escalate to a speech bubble sequence for the critical path, and use a modal only when you need an explicit decision (like choosing a use case). If you want a deeper build spec, align this architecture with a documented saas onboarding flow so each step maps to a measurable event.
A 7-Day Build Plan - Instrument, Launch, Iterate Without Breaking the Product Experience
Teams often either (a) overbuild flows for weeks, or (b) ship something fast with no measurement. This 7-day plan is built to ship a working flow builder implementation quickly while protecting UX and data quality.
Day 1: Lock the activation behavior and segments
- Write the activation behavior as an event you can track (verb + object + properties).
- Define 2 to 4 segments and the eligibility rules for each.
- Document exclusions (existing customers, internal users, power users).
Day 2: Instrument the minimum event taxonomy
You need three layers of events: product events (real actions), flow events (step shown, completed, dismissed), and outcome events (activation achieved). If you do not already have a baseline, the quickest path is to implement product tracking plus user profile properties so segments are stable over time.
- Product: created_project, invited_user, connected_integration
- Flow: onboarding_step_viewed, onboarding_step_completed, onboarding_dismissed
- Outcome: activated (derived event or flag)
Day 3: Build the flow skeleton and guardrails
- Create the flow with placeholders for each step and CTA.
- Add exit conditions: stop once activated is true.
- Add frequency caps and mutual exclusion rules.
Day 4: Add branching and unblockers
We initially assumed a linear tour would be “good enough,” but data from audits showed the biggest drop-offs came from permission and setup blockers, not from users refusing to click. Add branches for “missing data,” “no permission,” and “not ready,” and route those users to a checklist item or help link instead of repeating the same step.
Day 5: QA on real environments
- Browser + viewport QA: check element anchoring and z-index issues.
- Latency QA: ensure steps wait for elements to render.
- Edge cases: empty states, first-time users, returning users, role changes.
Day 6: Rollout with a holdout
Ship to 10 to 20% of eligible users and keep 5 to 10% as a holdout group that sees no flow. This is the fastest way to measure activation lift without waiting for perfect experimentation infrastructure.
Day 7: Review and iterate with a fixed cadence
- Review: activation lift, time-to-activation, and step drop-off.
- Change only 1 to 2 variables per iteration (copy, trigger timing, or branching).
- Keep a changelog so you can attribute improvements.
If you are building a guided product tour, this 7-day plan is a safer alternative to “launch and hope,” because it bakes measurement and rollout controls into the process.
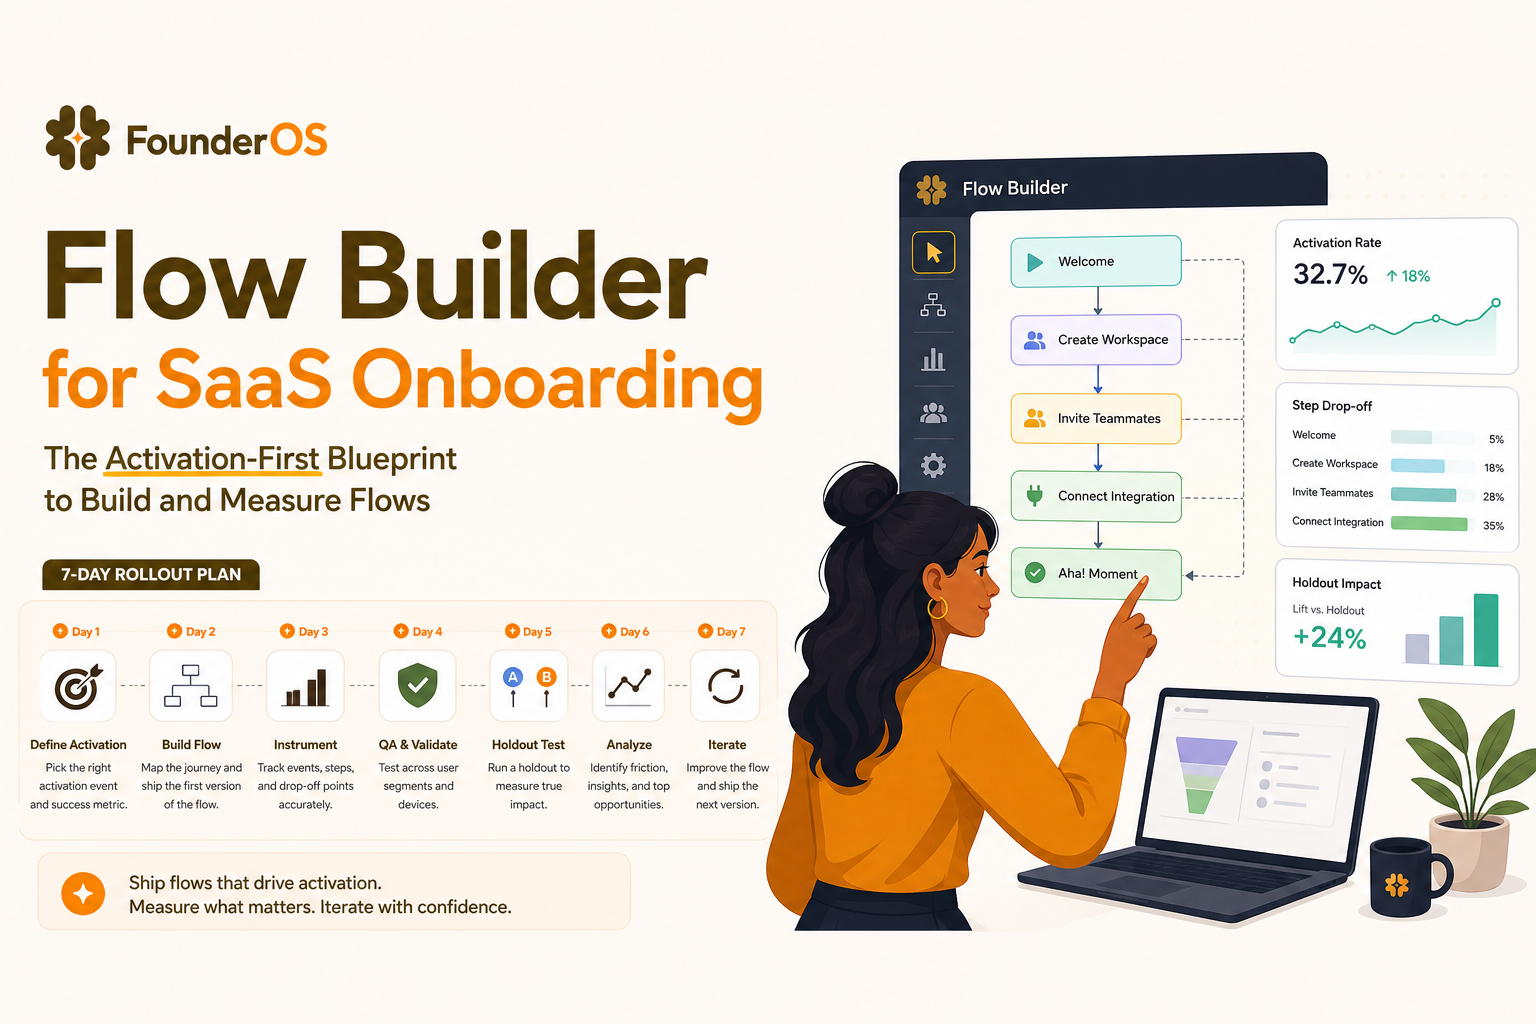
The Measurement Layer Most Teams Miss - From Completion Rate to Activation Lift
Completion rate is a UX metric, not a business metric. A flow builder should help you answer a harder question: did the flow cause more users to activate, faster, compared to what would have happened anyway?
Event taxonomy you need to attribute impact
Define event names and properties consistently so you can build funnels and cohorts without manual cleanup.
- Step events: step_id, flow_id, step_type (tooltip, modal), anchor_selector, variant
- User context: segment, plan, role, acquisition_source
- Outcome context: activated_at, activation_path (which event triggered activation)
Three analyses that prove the flow matters
- Activation funnel: eligible users → saw flow → completed key step → activated.
- Cohort comparison: activation rate for exposed vs holdout in the same signup window.
- Time-to-activation shift: compare median and 75th percentile time-to-activation.
Benchmarks to use as sanity checks
- Step drop-off: if a step loses more than 30% of users, it is usually too big or too early.
- Dismissal rate: sustained dismissal above 20% suggests poor timing or irrelevant targeting.
- Activation lift: even a 5 to 10% relative lift can be meaningful if it compounds into retention and expansion.
Common measurement traps (and fixes)
- Trap: counting completion as success. Fix: define a key step event that is a real product action.
- Trap: changing two things at once. Fix: one-variable iterations and a changelog.
- Trap: analyzing only “users who saw the flow.” Fix: include eligible users who did not see it due to caps or timing.
For experimentation standards and terminology, align your approach with established guidance like A/B testing fundamentals, even if you start with a lightweight holdout.
Industry Use Cases - How Flow Logic Changes for PLG, Sales-Led, and Regulated SaaS
The same flow builder features can produce very different outcomes depending on your go-to-market motion and constraints. The key is to change the logic, not just the copy.
Self-serve PLG SaaS
- Trigger strategy: event-based triggers after the user shows intent (e.g., clicked “Create” but did not finish).
- Segmentation: by use case selection, traffic source, or first session behavior.
- Guardrails: short flows, aggressive exit conditions, avoid blocking modals.
Sales-led SaaS (trials, POCs, assisted onboarding)
- Trigger strategy: triggers tied to lifecycle stage (trial day, onboarding call scheduled, champion identified).
- Segmentation: by account, role, and permission level.
- Workflow: pair in-app flows with a checklist that mirrors the implementation plan and reduces back-and-forth.
Regulated SaaS (health, finance, security-heavy workflows)
- Trigger strategy: avoid showing sensitive data in overlays; trigger on safe pages and use generic guidance.
- Compliance constraints: audit logs for changes, localization requirements, and strict role-based targeting.
- Measurement: focus on time-to-compliance and reduction in configuration errors, not just activation speed.
Marketplace and multi-sided products
- Segmentation: side A vs side B, plus intent signals.
- Branching: route users to different activation behaviors depending on which side they are on.
After running multiple onboarding audits, the pattern was clear: teams that used a flow builder to enforce role-based targeting and early exit conditions avoided the “everyone sees everything” problem and shipped fewer but higher-impact flows.
Flow Builder Evaluation Checklist - What to Verify in a Demo Before You Commit
Most tools can build a tooltip. The evaluation should focus on whether the flow builder can support your activation-first architecture and measurement needs without creating governance debt.
Targeting and logic
- Can you target by user attributes, segment membership, and real events?
- Is branching logic expressive enough (AND/OR, nested conditions, step-level rules)?
- Can you stop flows when the activation event happens?
Analytics and attribution
- Step-level analytics: views, completions, drop-off by step, dismissals.
- Outcome tracking: can you tie flows to activation and retention cohorts?
- Holdouts or experiment support: can you exclude a controlled % of users?
Governance and team workflow
- Approval workflows, versioning, and rollback.
- Permissions by role (PM, CS, marketing, engineering).
- Conflict prevention: priority rules and mutual exclusion.
Performance and UX quality
- Does the SDK load fast and avoid blocking rendering?
- Can it reliably anchor to dynamic UI elements?
- Localization, accessibility, and responsive behavior.
Implementation reality check (ask for this live)
- Build a 5-step flow on your staging environment during the demo.
- Add one branch based on a real event, not a URL.
- Show the analytics view that connects the flow to an activation metric.
If you want a reusable decision framework, keep a written onboarding checklist beside your demo notes so you evaluate tools against your flow rules, not their templates. You can also compare categories of product onboarding tools to clarify whether you need tours, checklists, analytics, or all three.
| Requirement | Minimum acceptable | What to test in a demo |
|---|---|---|
| Event-based targeting | Trigger on tracked events with properties | Trigger a step after “created_project” fires |
| Branching logic | AND/OR + nested conditions | Branch by role=admin AND plan=trial |
| Guardrails | Caps, cooldowns, mutual exclusion | Show priority rules and conflict behavior |
| Attribution | Flow analytics plus outcome linkage | Report activation rate exposed vs holdout |
| Quality and governance | Preview, versioning, rollback, permissions | Publish, revert, and audit changes live |
FAQ
How many steps should an onboarding flow have?
Design around the activation behavior, not a fixed number. In practice, keep the primary path to 3 to 7 steps, then use branching or a checklist for optional depth. If you need more than 7 steps, your activation behavior is probably too big or you are mixing multiple jobs-to-be-done.
What is the best trigger to start a flow builder onboarding?
Prefer intent and context triggers over “on first login.” Good triggers include: user reaches a key page, clicks a primary CTA but does not complete, or meets a segment rule. This reduces dismissals and improves activation lift because the guidance appears at the moment of need.
How do I measure whether a flow caused activation?
Use a holdout group of eligible users who do not see the flow, then compare activation rate and time-to-activation over the same signup window. Also track step drop-off to diagnose where the flow helps or hurts. Completion rate alone is not enough.
Can a flow builder replace product analytics?
Not fully. A flow builder can track step interactions, but you still need reliable product event tracking and user profiles to define segments, outcomes, and cohorts. The strongest setup is when flow analytics and product analytics share the same event taxonomy.
If you want to apply this activation-first blueprint quickly, Founder OS combines a no-code onboarding flow builder with product tracking, user profiles, segmentation, and flow impact analytics so you can ship guided experiences and measure activation lift without waiting on engineering.
Read Next
View all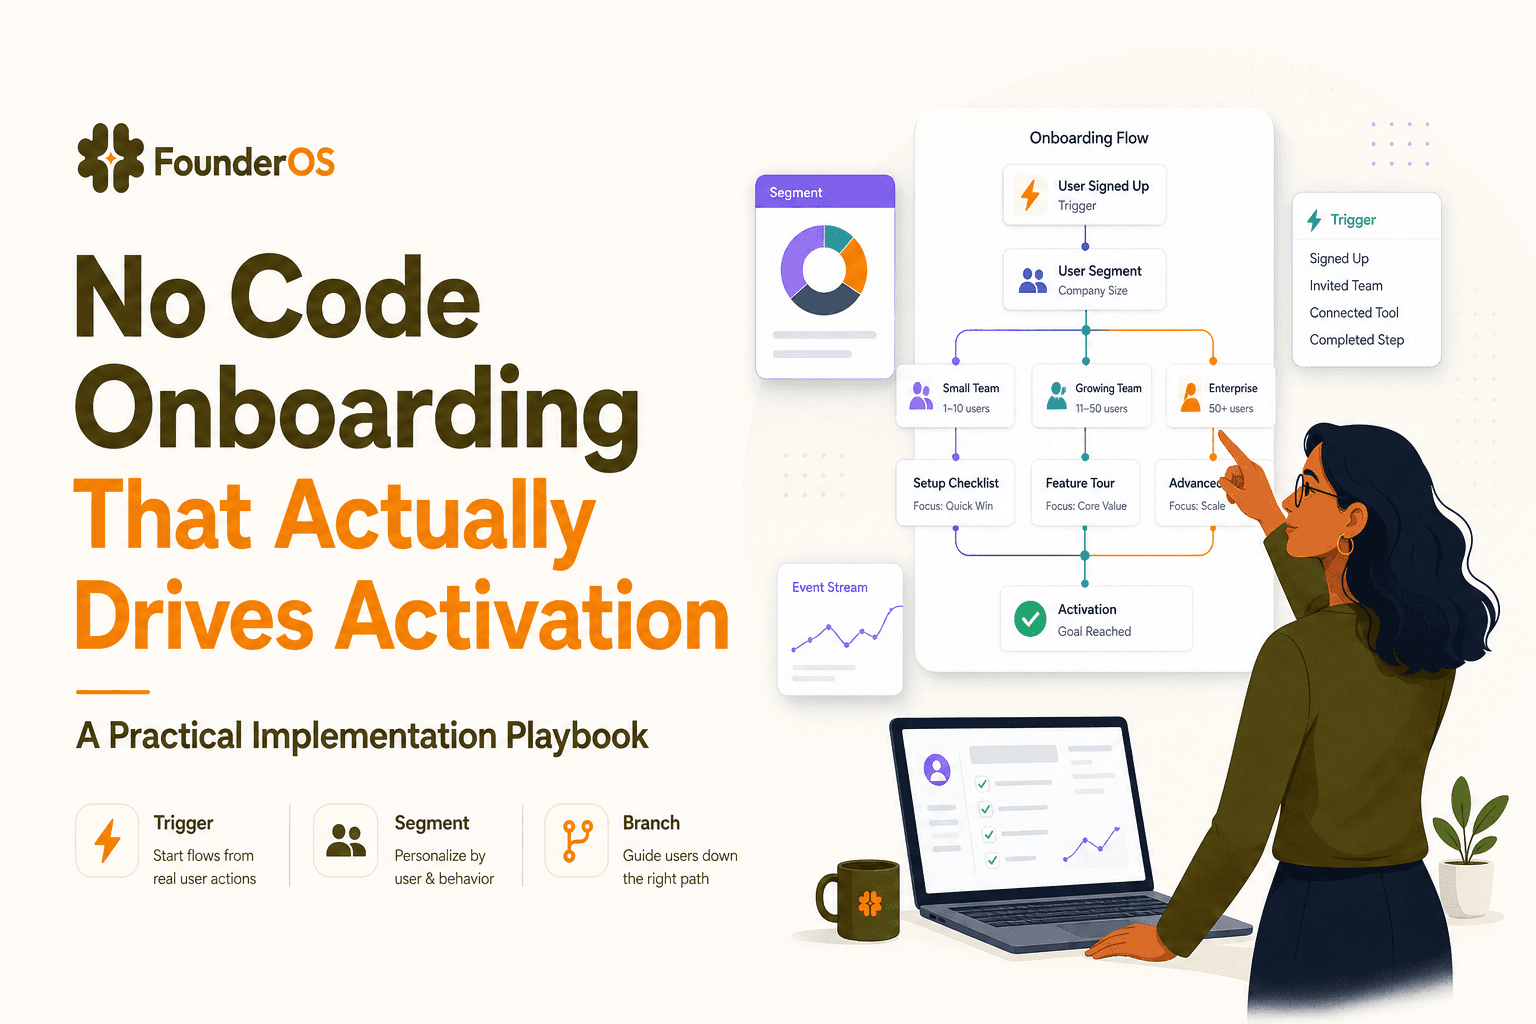
No Code Onboarding That Actually Drives Activation - A Practical Implementation Playbook
A practical playbook for no code onboarding that proves activation lift with targeting, triggers, instrumentation, and safe rollout in B2B SaaS.
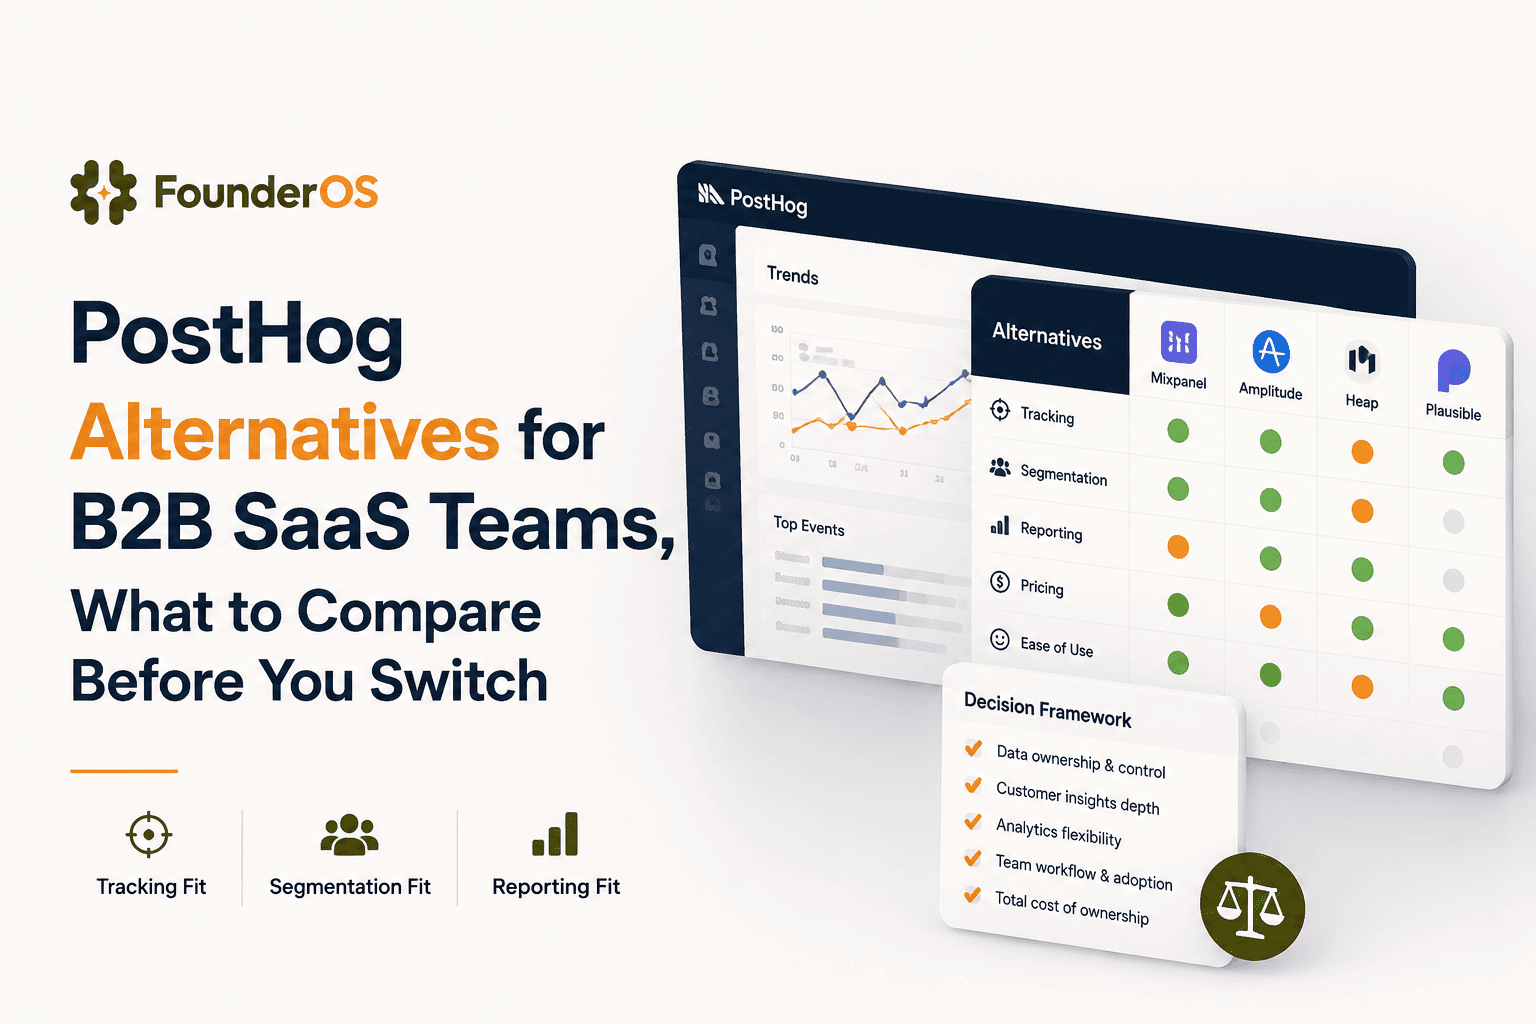
PostHog Alternatives for B2B SaaS Teams, What to Compare Before You Switch
Compare PostHog alternatives for B2B SaaS teams using tracking depth, segmentation, reporting clarity, and workflow fit.
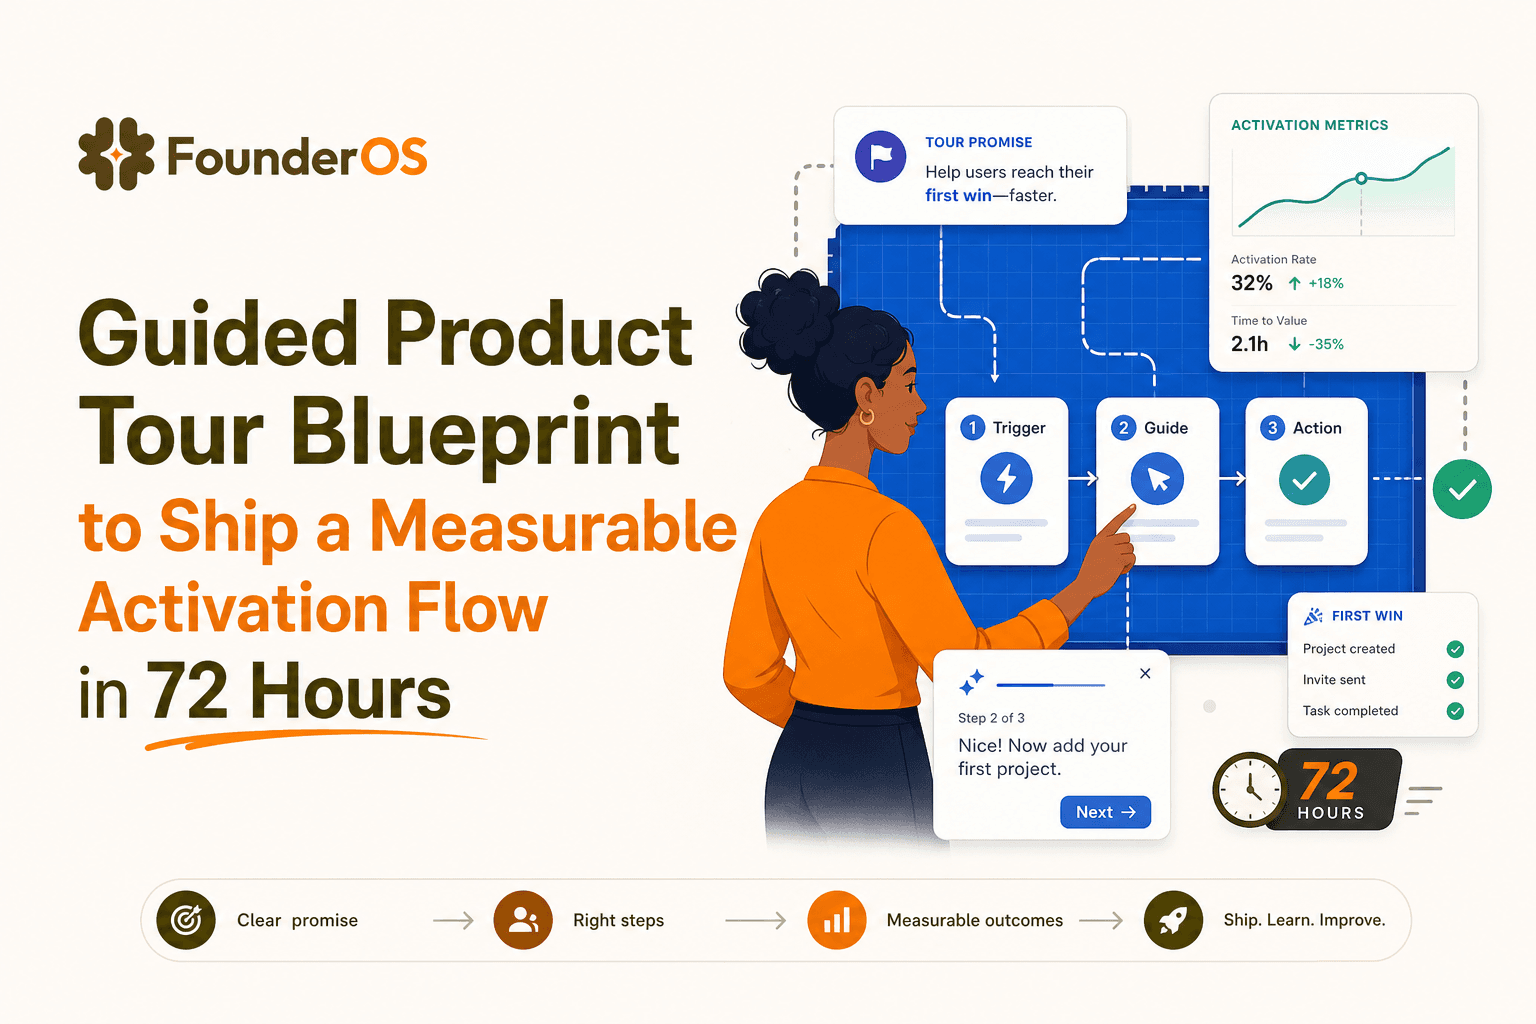
Guided Product Tour Blueprint to Ship a Measurable Activation Flow in 72 Hours
A guided product tour blueprint to ship in 72 hours: define the promise, map steps to events, segment entry rules, and measure activation.